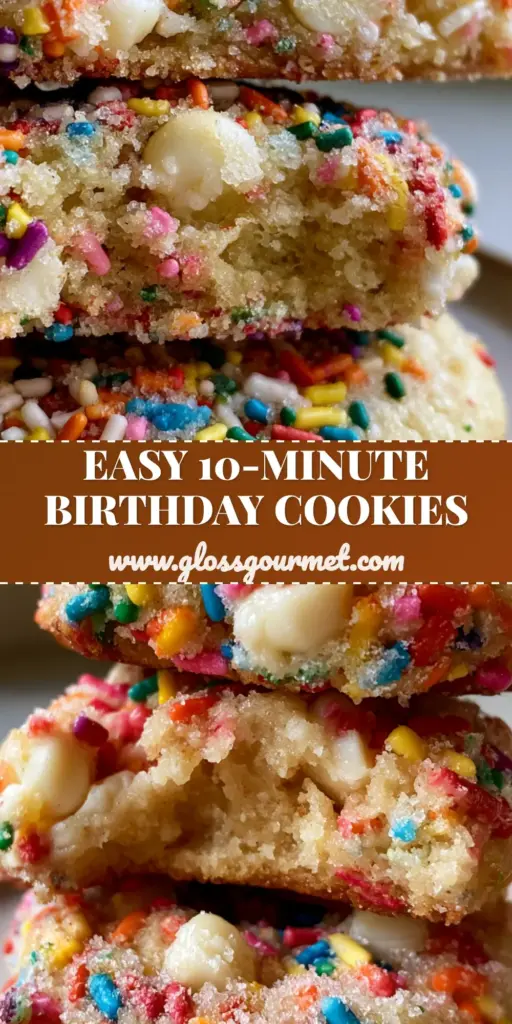
There is something inherently celebratory about the aroma of vanilla and toasted sugar wafting through a kitchen. These birthday cake cookies aren’t just a dessert; they are a nostalgic experience captured in a handheld, thick, and ultra-chewy format. Imagine the classic flavor of a traditional Funfetti cake transformed into a cookie that boasts a pale, buttery crumb and a visual pop that demands attention.
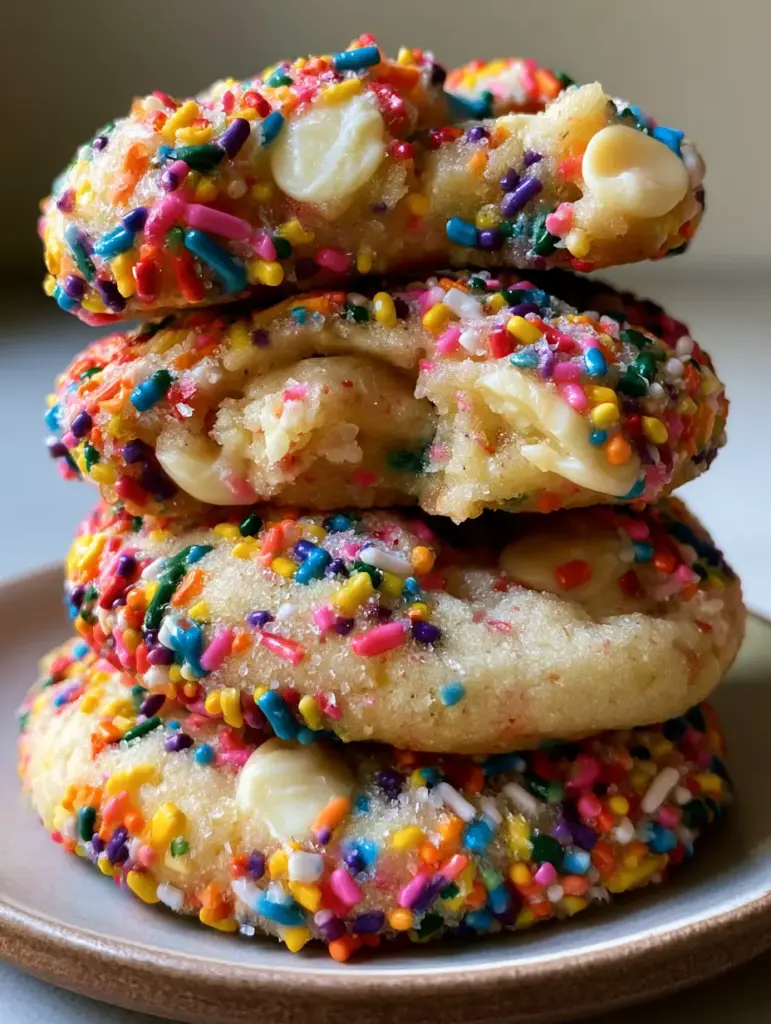
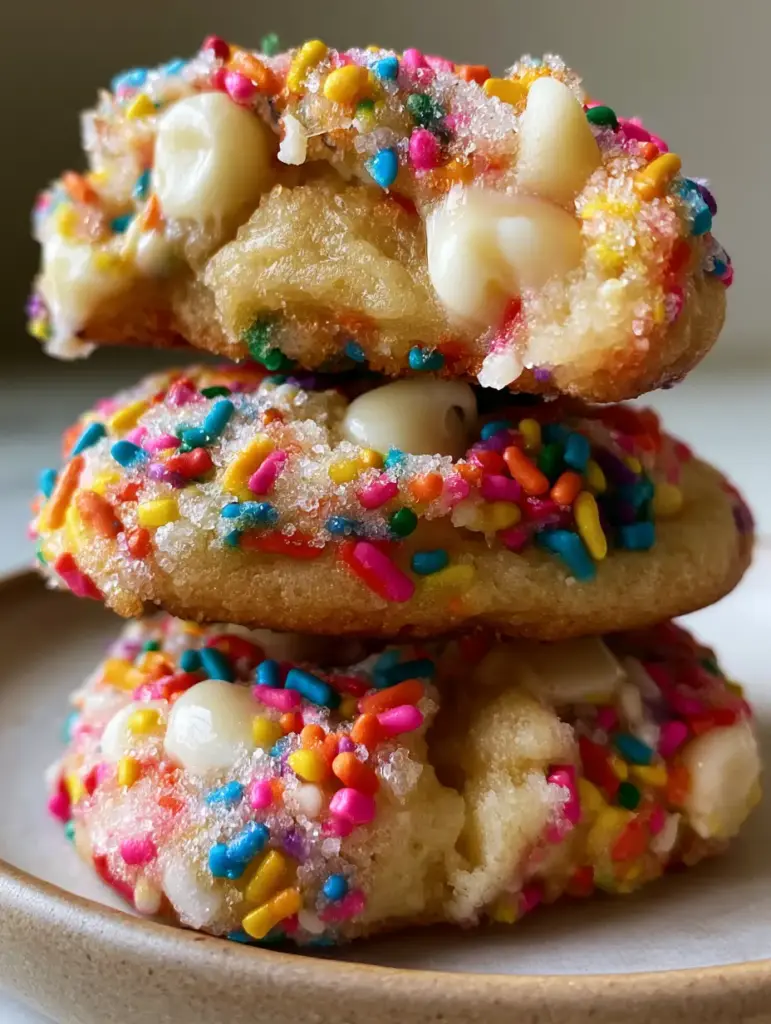
What sets these birthday cake cookies apart is the meticulous balance of textures. We aren’t looking for a thin, crispy wafer here. Instead, our goal is a substantial, three-cookie-stack-worthy masterpiece with golden-brown crispy edges and centers so moist and doughy they practically melt on your tongue. Every bite is punctuated by the snap of vibrant rainbow jimmies and the silky, glistening pool of a half-melted white chocolate morsel.
Whether you are celebrating a milestone or simply craving a whimsical snack, this recipe delivers a professional-grade result. We’ve engineered this dough to maintain its height and “chew-factor,” ensuring that when you break a cookie open, it reveals that coveted, slightly underbaked interior that social media dreams are made of. Let’s dive into the culinary science of the perfect sprinkle-studded bake.
The Science of Soft-Baked Perfection: Why This Recipe Works
- Textural Contrast: By using a specific ratio of granulated to brown sugar, we achieve the “Visual Recipe Blueprint” requirement of crispy, caramelized edges paired with a pale, soft center.
- The “Doughy” Secret: A precise addition of cornstarch interferes with gluten development, ensuring the centers remain tender and moist rather than tough or cakey.
- Visual Vibrancy: We use high-quality rainbow jimmies (cylindrical sprinkles) rather than nonpareils to prevent color bleeding into the buttery dough, keeping the “birthday cake” aesthetic clean and sharp.
- Melt Factor: By pressing additional white chocolate morsels into the dough balls before baking, we guarantee those glistening, half-melted chips seen in our macro photography.
Essential Pantry Staples for Birthday Cake Cookies
Unsalted Butter (1 cup / 227g): Use high-quality European-style butter if possible. The fat content is crucial for the “pale, buttery” look and the structural integrity of the cookie’s golden-brown edges.
Granulated Sugar (¾ cup / 150g): This provides the sweetness and aids in the crisping of the edges. You will also need an extra ¼ cup (50g) for the final light dusting of granulated sugar before the trays hit the oven.
Light Brown Sugar (½ cup / 100g): The molasses in brown sugar keeps the centers “moist and doughy,” providing that chewy texture that lasts for days.
Large Eggs (2 units): Ensure these are at room temperature to emulsify properly with the creamed butter, creating a stable aerated structure for the dough.
Clear Vanilla Extract (2 tsp / 10ml): While pure vanilla is great, clear vanilla extract is the “secret” to that specific, nostalgic “boxed cake mix” flavor profile found in professional birthday cake cookies.
All-Purpose Flour (2 ¾ cups / 345g): This provides the necessary protein structure to hold the weight of the heavy sprinkles and chocolate chips without collapsing.
Cornstarch (2 tsp / 10g): This “invisible” ingredient is the culinary bridge to a soft-baked texture, keeping the crumb tight and tender.
Baking Soda (1 tsp / 5g): A small amount of leavening provides just enough lift to create those thick, substantial stacks without making the cookies puff up like actual cake.
Vibrant Rainbow Jimmies (¾ cup / 120g): These cylindrical sprinkles provide the “macro” visual appeal. Avoid the tiny round beads which can turn the dough a muddy grey color.
White Chocolate Morsels (1 cup / 170g): Choose morsels that have cocoa butter as a primary ingredient to ensure they glisten and melt slightly under the heat of the oven.
Precision Tools for Professional Results
To achieve the look of an authentic social media food photo, you need the right tools. A heavy-duty stand mixer or electric hand mixer is vital for properly creaming the butter and sugars until they are light and fluffy. This aeration is what creates the “sugary crystalline texture” highlighted in our visual prompts.
Additionally, a large 3-tablespoon (50g) cookie scoop is non-negotiable. This ensures every cookie is uniform in size, allowing for even baking so that every single edge turns golden-brown at exactly the same time. Finally, high-quality parchment paper or a silicone baking mat will prevent the bottoms from over-browning while the centers stay pale and chewy.
The Step-by-Step Path to Cookie Nirvana
Creaming for Structure and Flavor
In the bowl of your stand mixer, combine the softened butter, granulated sugar, and light brown sugar. Beat on medium-high speed for 3-5 minutes until the mixture is pale and significantly increased in volume. You are looking for a texture that resembles wet sand—this air incorporation is the foundation of a thick cookie.
Emulsifying the Liquid Ingredients
Add the eggs one at a time, beating thoroughly after each addition. Scrape down the sides of the bowl to ensure no butter streaks remain. Pour in the clear vanilla extract and a hint of almond extract if you want to deepen that cake-like aroma. The batter should look smooth and glossy at this stage.
Folding the Dry Foundation
Whisk together the flour, cornstarch, baking soda, and a pinch of fine sea salt. Turn your mixer to the lowest setting and slowly add the dry ingredients. Mix only until a few streaks of flour remain. Over-mixing at this stage will develop too much gluten, destroying the “soft-baked” center we are aiming for.
The Sprinkle and Chip Integration
Using a sturdy spatula, fold in the rainbow jimmies and about ¾ of the white chocolate morsels. Be gentle; you want to distribute the colors evenly without crushing the sprinkles. The dough should be thick, buttery, and heavily studded with color. For a similar flavor profile in a different format, you might also enjoy our classic birthday cupcakes.
Chilling and Shaping for Height
For the thickest cookies, chill the dough for at least 30 minutes. Once chilled, scoop 3-tablespoon portions of dough and roll them into smooth balls. Roll each ball in a shallow bowl of granulated sugar to create that “light dusting” and crystalline exterior mentioned in the visual blueprint. Press the remaining white chocolate chips into the tops of the balls.
The Perfect Bake and Sensory Cues
Bake at 350°F (175°C) for 10-12 minutes. The most critical cue is visual: the edges should be just starting to turn a pale golden-brown, while the centers must still look slightly underbaked and soft. If the centers look fully set, you have overbaked them. As they cool on the hot baking sheet, the “carry-over cooking” will finish the centers while keeping them moist and doughy.
Expert Tips for Visual and Textural Success
- The “Spoon and Level” Method: Always measure your flour by spooning it into the cup and leveling it off. Packing the flour will result in a dry, crumbly cookie instead of a moist one.
- Sprinkle Quality Matters: Use “jimmies” (long strands) rather than “nonpareils” (tiny balls). Nonpareils melt and bleed their dye, whereas jimmies hold their shape and color during the bake.
- The Cookie Scoot: Immediately after removing the tray from the oven, use a large circular glass or cookie cutter to “scoot” the warm cookies into perfect circles. This creates that professional, clean-edged look.
- Avoid Over-Browning: If your oven runs hot, check the cookies at the 9-minute mark. We want “pale sugar cookie dough” with only the very perimeter showing a golden hue.
Creative Pairings: What to Serve with Birthday Cake Cookies
These cookies are a star on their own, but they also make a fantastic addition to a dessert spread. If you’re hosting a brunch, try pairing them alongside some fluffy Greek yogurt waffles for a mix of sweet and tangy flavors. For those who love a chocolate contrast, serving these next to S'mores chocolate chip cookies provides a beautiful visual array of textures on a platter.
If you’re looking for something refreshing to cut through the buttery sweetness, a strawberry shortcake smoothie serves as a perfect liquid companion. For a truly unique “cake-themed” party, you could even offer a slice of delicate mango crepe cake to provide a light, fruity counterpoint to the dense, chewy cookies.
Storage and Make-Ahead Instructions
Room Temperature: Store baked cookies in an airtight container for up to 5 days. To keep them extra soft, place a small piece of white bread in the container; the cookies will absorb the moisture from the bread.
Freezing the Dough: You can freeze the pre-rolled dough balls (without the final sugar dusting) for up to 3 months. When ready to bake, roll in sugar and bake directly from frozen, adding 2-3 minutes to the total bake time.
Freezing Baked Cookies: These cookies freeze beautifully. Wrap them individually in plastic wrap and store in a freezer bag. Thaw at room temperature for 15 minutes for a “fresh-baked” texture.
Frequently Asked Questions
You can, but natural sprinkles often use plant-based dyes that are heat-sensitive. They may fade or bleed into the pale dough during baking. For the most ‘vibrant’ look, traditional rainbow jimmies are recommended.
You don’t have to, but clear vanilla extract provides that specific nostalgic ‘birthday cake’ flavor profile. Pure vanilla extract will taste delicious but will give the cookies a more traditional sugar cookie flavor.
Instead of mixing all the chips into the dough, reserve a handful and press them manually into the tops of the dough balls right before they go into the oven. This ensures they stay visible and glossy.
The combination of cornstarch and a slightly higher ratio of brown sugar keeps the cookies soft. Most importantly, you must pull them out of the oven when the centers still look slightly wet and underbaked.
This usually happens if the butter was too warm or if the dough wasn’t chilled. Ensure your butter is cool-room temperature and chill the dough for at least 30 minutes before baking to maintain that thick, soft-baked structure.
The Ultimate Birthday Cake Cookies Recipe
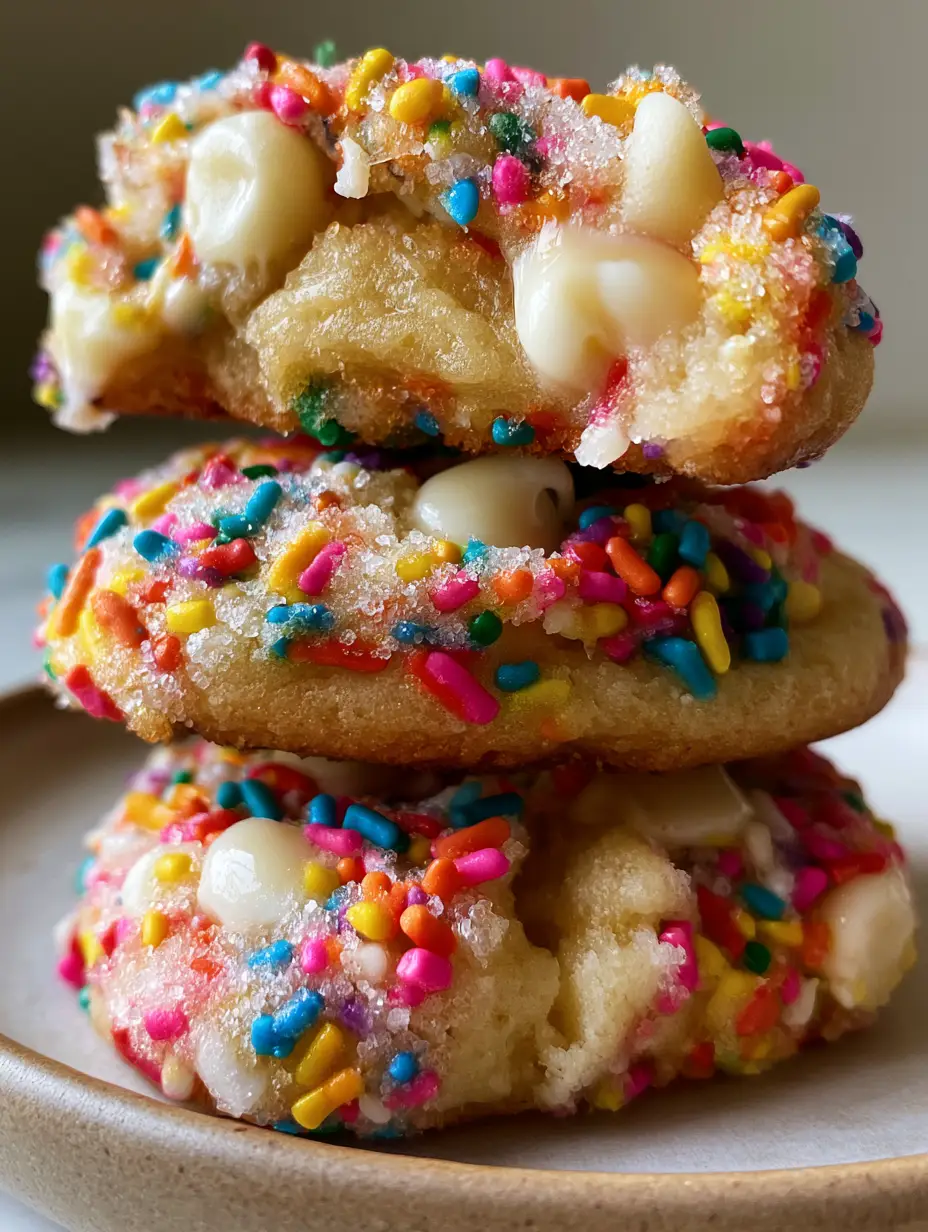
Birthday Cake Cookies: The Ultimate Thick and Soft-Baked Rainbow Treat
Ingredients
Equipment
Method
- In a large bowl, cream together the softened butter, 3/4 cup granulated sugar, and light brown sugar until light and fluffy, about 3-5 minutes.
- Beat in the eggs one at a time, followed by the vanilla extract, ensuring the mixture is smooth.
- Slowly mix in the flour, cornstarch, and baking soda until just combined. Do not overmix.
- Gently fold in the rainbow jimmies and 3/4 cup of the white chocolate morsels using a spatula.
- Scoop 3-tablespoon sized balls of dough. Roll each ball in the extra granulated sugar for a light dusting. Press remaining white chocolate chips onto the tops.
- Bake at 350°F (175°C) for 10-12 minutes. Look for pale centers and edges that are just beginning to turn golden-brown.
- Let the cookies cool on the baking sheet for at least 10 minutes to allow the centers to set into a moist, doughy texture.
Notes
Do not overbake! The centers should look raw when pulled from the oven.
Share Your Birthday Bake!
We can’t wait to see your thick, sprinkle-filled stacks! These birthday cake cookies are designed to bring a bit of joy to any kitchen. If you make them, be sure to snap a photo—perhaps that macro handheld shot we love—and tag us on social media. For more visual inspiration and recipe galleries, follow our journey on Pinterest. Don’t forget to leave a comment below and let us know how your crispy-edged, doughy-centered cookies turned out!