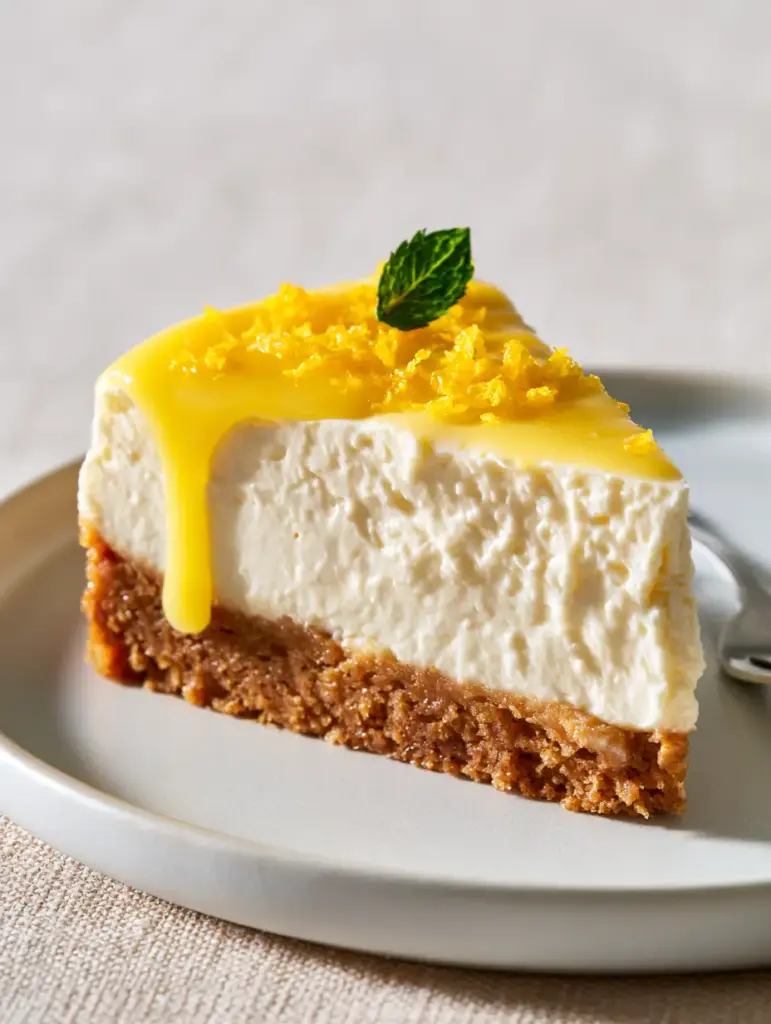
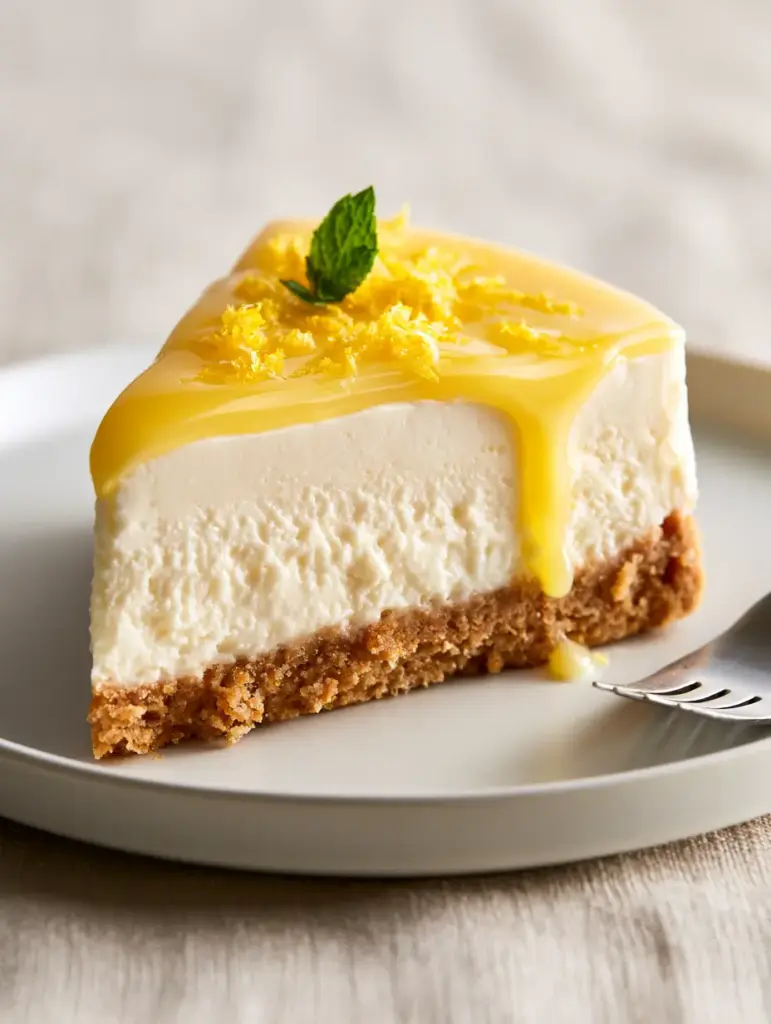
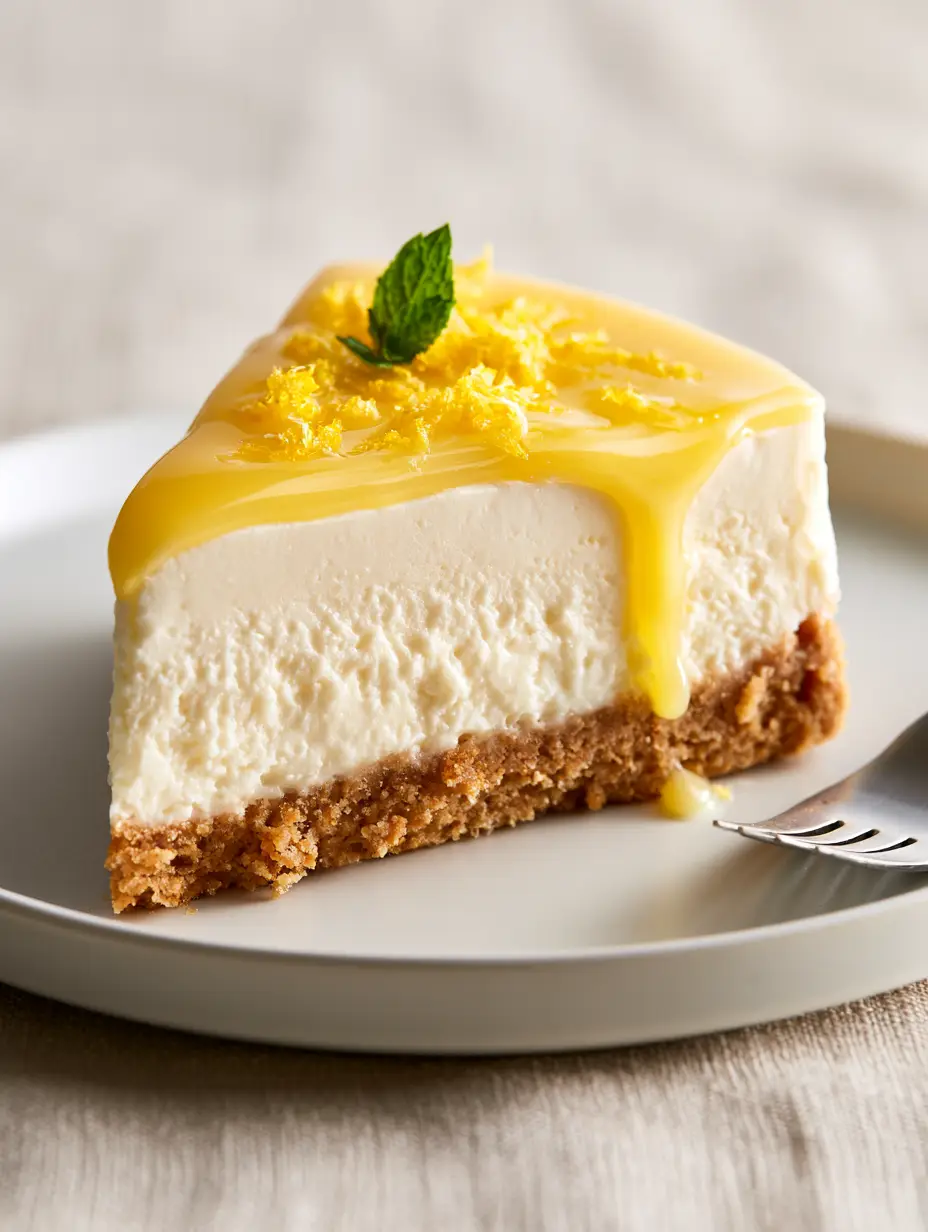
The no-bake lemon cheesecake is the ultimate intersection of citrus brightness and velvety indulgence. Imagine a dessert that requires zero oven time yet delivers a professional-grade aesthetic featuring clean, sharp edges and a vibrant yellow finish. This recipe is designed to produce a thick, pale ivory cream cheese filling that sits atop a robust, golden-brown graham cracker crust, finished with a signature glossy lemon curd drip.
When you slice into this masterpiece, you are greeted by a structural marvel. The middle layer is dense yet airy, providing a smooth, ultra-creamy mouthfeel that balances the textured, buttery crumbs of the base. It is a dessert that captures natural morning light beautifully, especially when served on a modern matte white ceramic plate, making it the crown jewel of any brunch or dinner party.
The Aesthetic Allure of This Zesty Masterpiece
- Vibrant Visual Contrast: The juxtaposition of the pale ivory filling against the vibrant, semi-translucent yellow lemon curd creates a stunning 45-degree profile.
- Textural Harmony: Experience the satisfying crunch of a thick graham cracker crust paired with a velvety, smooth-set cheesecake layer.
- Elegant Finishes: From the elegant lemon curd drips to the fine scattering of bright yellow lemon zest and a singular tiny mint leaf, every detail is curated for visual impact.
- Effortless Precision: Achieve clean, professional edges without the fear of cracks or overbaking common in traditional cheesecakes.
Creating a high-end dessert at home often feels intimidating, but this no-bake lemon cheesecake simplifies the process while maximizing the “wow” factor. By focusing on high-quality dairy and fresh citrus, you can replicate the look of a luxury patisserie in your own kitchen.
Essential Ingredients for the Ultimate No-Bake Base
Graham Cracker Crumbs: You will need 2 cups (200g) of finely crushed crumbs. These provide the structural foundation and that classic toasted honey flavor that complements the tart lemon.
Unsalted Butter: Use 1/2 cup (115g) of melted butter to bind the crumbs. This ensures the crust is buttery and firm enough to hold clean edges when sliced.
Granulated Sugar: A modest 1/4 cup (50g) of sugar added to the crust helps the crumbs lock together through caramelization-like bonding, even without heat.
Full-Fat Cream Cheese: You must use 24 oz (680g) of brick-style cream cheese at room temperature. This is the secret to the dense, ivory-cream texture that stays stable at room temperature.
Powdered Sugar: 1 1/2 cups (180g) of sifted powdered sugar provides sweetness without the graininess of granulated sugar, ensuring a velvety finish.
Heavy Whipping Cream: 1 1/4 cups (300ml) of cold heavy cream is folded in to provide aeration. This transforms the dense cheese into a cloud-like filling that still holds its shape.
Fresh Lemon Juice and Zest: The juice of 2 large lemons (approx. 1/4 cup or 60ml) and 1 tablespoon (6g) of zest provide the essential citrus backbone. The zest should be finely grated to avoid any fibrous texture in the filling.
Glossy Lemon Curd: 1 cup (240ml) of high-quality lemon curd is used for the glaze. This should be slightly warmed to achieve that elegant, slow-moving drip down the side of the wedge.
Fresh Mint and Zest Garnish: A single, tiny fresh green mint leaf and extra zest are the final forensic details that elevate the presentation.
Professional Tools for a Flawless Finish
To achieve the look of the wedge shown in our photography, a 9-inch (23cm) springform pan is non-negotiable. This tool allows you to remove the sides of the pan without disturbing the delicate cream cheese edges. You will also need a high-speed hand mixer or stand mixer to ensure the cream cheese is perfectly aerated and free of lumps.
A microplane is essential for achieving that “finely grated” zest look that scatters across the top like yellow dust. Finally, a sharp, thin-bladed knife dipped in hot water between cuts is the industry secret for achieving those clean, forensic-level edges on every single slice.
Architecting the Golden-Brown Graham Cracker Crust
Step 1: Crushing and Combining
In a large mixing bowl, combine the 2 cups (200g) of graham cracker crumbs with 1/4 cup (50g) of sugar. Pour in the 1/2 cup (115g) of melted unsalted butter. Use a fork to toss the ingredients until every crumb is moistened and the mixture resembles wet sand. This ensures the crust won’t crumble apart when you take that first forkful.
Step 2: Pressing for Structural Integrity
Transfer the mixture to your 9-inch springform pan. Using the flat bottom of a measuring cup, press the crumbs firmly into the bottom and slightly up the sides. The goal is a uniform, thick layer that looks solid. Chill this in the freezer for 15 minutes to “set” the butter, creating a rock-solid foundation for the pale ivory filling.
Engineering the Pale Ivory Cream Cheese Filling
Step 3: Creaming the Base
In a stand mixer fitted with the paddle attachment, beat the 24 oz (680g) of room-temperature cream cheese until it is completely smooth and glossy. This usually takes about 3 minutes on medium speed. Scrape down the sides of the bowl frequently to ensure no lumps remain. Add the powdered sugar and lemon zest, beating until incorporated.
Step 4: Folding for Aeration
In a separate chilled bowl, whip the 1.25 cups (300ml) of heavy cream until stiff peaks form. Gently fold the whipped cream into the cream cheese mixture using a silicone spatula. Use a “cut and fold” motion to maintain the air bubbles. This is what creates that velvety, dense, but light-on-the-tongue texture that defines a world-class no-bake lemon cheesecake.
Step 5: The Setting Phase
Pour the filling over the chilled crust. Use an offset spatula to smooth the top into a perfectly flat, pale ivory surface. Tap the pan firmly on the counter twice to release any trapped air pockets. Cover with plastic wrap and refrigerate for at least 8 hours, though overnight is preferred for the cleanest edges.
The Final Flourish: Glossy Glaze and Garnishing
Step 6: Executing the Lemon Curd Drip
Once the cheesecake is fully set, remove the sides of the springform pan. Take 1 cup (240ml) of lemon curd and warm it in the microwave for 10-15 seconds until it is pourable but not hot. Pour it over the center of the cheesecake and gently nudge it toward the edges with a spoon, allowing it to slowly and elegantly drip down the sides in a semi-translucent yellow curtain.
Step 7: Forensic Garnishing
Just before serving, scatter a fine layer of bright yellow lemon zest over the glossy glaze. Place a single, tiny, fresh green mint leaf in the center or on the tip of the slice. This provides a pop of color contrast against the modern matte white ceramic plate.
Expert Tips for Visual and Culinary Success
- Temperature Control: Ensure your cream cheese is truly at room temperature. Cold cream cheese will result in tiny white lumps that ruin the “pale ivory” aesthetic.
- The Hot Knife Trick: For those clean edges, dip your knife in a tall jar of hot water, wipe it dry, and make one clean downward cut. Repeat for every single slice.
- Zest First: Always zest your lemons before juicing them. It is nearly impossible to zest a squeezed, hollow lemon half!
- Curd Quality: If your lemon curd is too thick or matte, whisk in a teaspoon of warm water to restore that “glossy” professional shine.
Shelf Life and Storage Best Practices
This cheesecake is a champion of make-ahead desserts. It can be stored in the refrigerator for up to 5 days. To maintain the integrity of the glossy curd, it is best to add the glaze and the mint garnish on the day of serving. If you need to freeze it, do so without the curd topping; wrap the set cream cheese layer tightly in plastic wrap and foil for up to 3 months. Thaw in the fridge overnight before glazing.
Perfect Pairings for a Bright Dessert Menu
This no-bake lemon cheesecake is the perfect palate cleanser after a rich meal. Consider serving it after a savory dinner of French dip sandwiches or a light, refreshing spinach salad with berries. If you are hosting a dessert-only event, it pairs beautifully with other citrus-forward treats like no-bake lemon cheesecake tarts or delicate gingerbread macarons for a seasonal contrast.
For a light lunch option before diving into this rich dessert, try these creative avocado toast ideas which provide a healthy, creamy balance to the tartness of the lemon curd.
Frequently Asked Questions
Yes! You can make the cheesecake up to 2 days in advance. For the best visual appeal, add the glossy curd glaze and mint garnish just before serving.
While possible, fresh lemon juice is highly recommended for the best flavor and acidity. Fresh zest is also required for the visual and aromatic quality of the cheesecake.
Warm the lemon curd in the microwave for 10-15 seconds until it reaches a slightly fluid consistency. Pour it in the center and gently push it toward the edges for an elegant drip.
Make sure every crumb is moistened with butter and press the mixture firmly into the pan using a flat-bottomed cup. Chilling the crust before adding the filling is essential.
The most common reasons are using low-fat cream cheese or not whipping the heavy cream to stiff peaks. Ensure you use brick-style, full-fat cream cheese and chill for at least 8 hours.
The Ultimate No-Bake Lemon Cheesecake Recipe
No-Bake Lemon Cheesecake with Glossy Lemon Curd Glaze
Ingredients
Equipment
Method
- Combine graham cracker crumbs, sugar, and melted butter in a bowl until the texture of wet sand is achieved.
- Press firmly into the bottom of a 9-inch springform pan and freeze for 15 minutes.
- Beat room temperature cream cheese until smooth and ivory-pale. Add powdered sugar, lemon juice, and zest.
- Whip heavy cream to stiff peaks in a separate bowl, then gently fold into the cream cheese mixture.
- Spread over the crust and refrigerate for at least 8 hours until the texture is dense and holds clean edges.
- Pour warmed lemon curd over the set cheesecake, allowing it to drip elegantly down the sides.
- Garnish with finely grated zest and a single mint leaf before serving on a white ceramic plate.
Notes
Clean your knife with hot water between slices to maintain the perfect 45-degree wedge look.
Bring the Sunshine to Your Kitchen
There is nothing quite like the refreshing bite of a perfectly executed lemon dessert. This no-bake lemon cheesecake offers a sophisticated, restaurant-quality result with the ease of a no-oven method. Whether you are celebrating a special occasion or simply want to brighten up a weekday, this recipe is your ticket to a stunning culinary centerpiece.
If you enjoyed this recipe, please leave a comment below and let us know how your glossy curd drip turned out! Don’t forget to share your creations and follow us for more visual recipe inspiration on Pinterest.