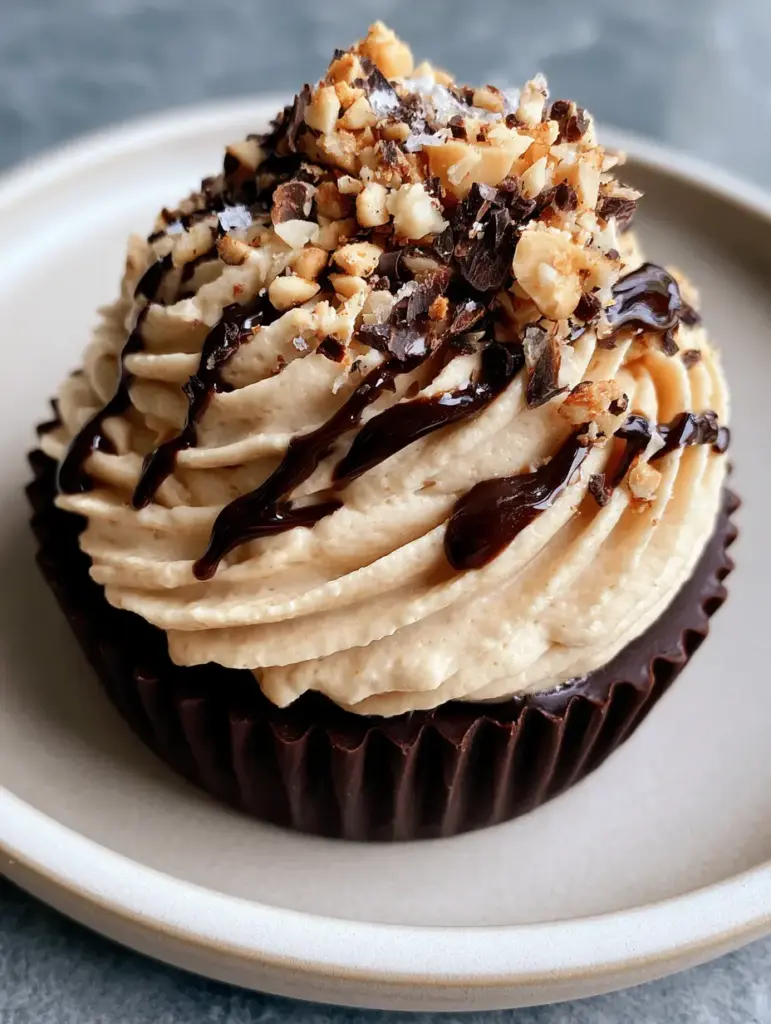
There is a specific kind of magic that happens when deep, bitter dark chocolate meets the salty, cloud-like embrace of a whipped peanut butter mousse. These peanut butter mousse cups are designed to be more than just a treat; they are a visual and textural masterpiece that brings professional pâtisserie quality into your home kitchen.
Inspired by the macro beauty of a handheld gourmet dessert, this recipe focuses on the contrast between a snappy, ridged chocolate shell and a velvet-textured filling. If you have ever marveled at a perfectly piped swirl in a high-end bakery window, you are about to recreate that exact experience with zero baking required.
We are going to dive deep into the culinary science of chocolate stability and aeration. From the glossy dark drizzle to the delicate flakes of sea salt, every element of these peanut butter mousse cups is curated for maximum sensory impact and incredible flavor balance.
Why You Will Obsess Over These Gourmet Mousse Cups
- The Snap Factor: A high-quality dark chocolate shell that provides a clean, audible snap when bitten into, contrasting the soft interior.
- Velvety Aeration: The mousse is whipped to a precise “cloud-like” consistency that holds its ridges perfectly after piping.
- Artisanal Finishes: We utilize a triple-threat garnish of roasted peanuts, chocolate curls, and sea salt to hit every part of your palate.
- No-Bake Ease: Achieve sophisticated results without ever turning on the oven, making this a perfect year-round showstopper.
The Anatomy of High-Quality Ingredients
70% Dark Chocolate: Use a high-quality cocoa butter-based chocolate bar rather than chips for the shell. This ensures a fluid melt and that characteristic “glossy” finish seen in professional photography.
Full-Fat Creamy Peanut Butter: Avoid natural oils-on-top varieties for the mousse. You need the structural emulsifiers found in standard creamy peanut butter to maintain the “velvety whipped” texture.
Heavy Whipping Cream (36% Fat): This is the engine of your mousse. It must be bone-cold to trap the maximum amount of air, creating those “soft textured ridges” we are looking for.
Refined Coconut Oil: A tiny addition to the chocolate shell ensures it isn’t too brittle to bite, while still maintaining a firm room-temperature set.
Roasted Peanuts: Finely crushed roasted peanuts provide the essential “crunch” factor that offsets the richness of the mousse.
Flaky Sea Salt: This is the “bridge” ingredient. It heightens the cacao notes in the chocolate and cuts through the fat of the peanut butter.
Essential Equipment for Professional Results
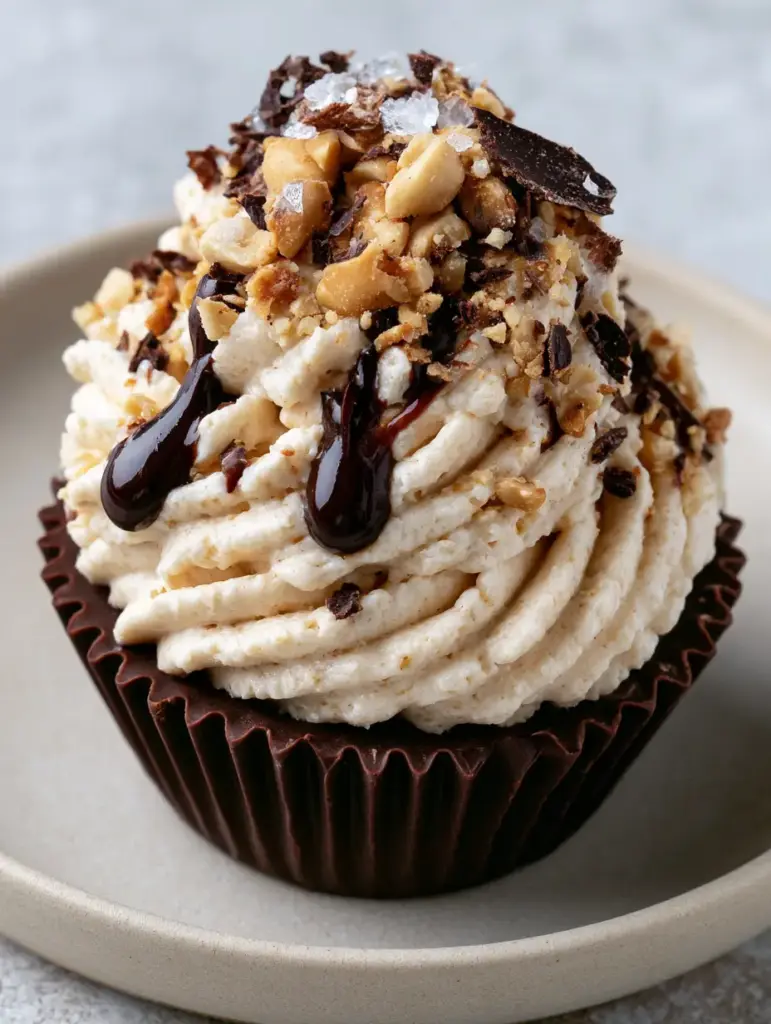
To achieve the “clean, ridged edges” described in our visual blueprint, you will need a standard 12-cup silicone muffin liner set. Silicone is superior to paper here because it allows the chocolate to release without any tearing or sticking.
A piping bag fitted with a large open star tip (like an Ateco 824) is non-negotiable for that “thick, cloud-like swirl.” Attempting to spoon the mousse into the cups will result in a flat appearance, losing the architectural height that makes these cups so enticing.
Lastly, a small offset spatula or a clean paintbrush will help you coat the sides of the liners evenly, ensuring there are no weak spots in your dark chocolate shells.
Mastering the Dark Chocolate Cup Shells
Preparing the Chocolate Base
Break 10 oz (280g) of dark chocolate into uniform pieces. Melt it slowly using a double boiler or in 20-second intervals in the microwave, stirring vigorously between each heat cycle to ensure the temperature stays below 90°F (32°C).
Coating the Silicone Liners
Drop 1 tbsp (15ml) of melted chocolate into each silicone liner. Use a brush or spatula to push the chocolate up the ridged sides, creating a thick, even wall. Visual cue: The chocolate should look opaque; if you can see the color of the liner through the chocolate, it is too thin.
The First Chill
Place the tray in the freezer for 10-15 minutes. This “flash chill” sets the structure of the cups so they are ready to be filled with the heavy peanut butter mousse without melting or deforming.
The Science of the Velvety Peanut Butter Mousse
Emulsifying the Peanut Butter Base
In a large bowl, beat 1 cup (250g) of creamy peanut butter with 1/2 cup (60g) of powdered sugar and a pinch of salt. This creates a dense paste that will later be lightened by the whipped cream.
Achieving the Cloud-Like Texture
In a separate chilled bowl, whip 1.5 cups (360ml) of heavy cream until stiff peaks form. Gently fold one-third of the cream into the peanut butter mixture to loosen it, then fold in the remaining cream with a spatula. Look for a uniform, matte finish with no streaks of white.
Piping the Signature Swirl
Transfer the mousse to your prepared piping bag. Starting from the center of the chilled chocolate cup, pipe in a circular motion, building height as you move upward. You want to see those “soft textured ridges” standing tall against the dark chocolate rim.
The Final Flourish: Garnishing for Visual Impact
Once your peanut butter mousse cups are filled, it is time for the artisanal finish. Melt an additional 2 oz (55g) of dark chocolate with a teaspoon of oil to create a “glossy dark chocolate drizzle.”
Use a spoon to flick the chocolate back and forth over the mousse swirls in an elegant pattern. Immediately follow this with a sprinkle of finely crushed roasted peanuts and dark chocolate shavings. The shavings are best made by running a vegetable peeler down the side of a room-temperature chocolate bar.
Finish with a delicate pinch of flaky sea salt. The salt should sit visibly on top of the chocolate drizzle, catching the light like tiny crystals. If you appreciate the precision of decorative desserts like gingerbread macarons, you will find this garnishing stage incredibly rewarding.
Expert Tips for the Perfect Snap and Swirl
- Cold Tools: Chill your metal whisk and bowl in the freezer for 10 minutes before whipping the cream to ensure maximum volume.
- Double Coating: If your shells feel fragile, apply a second thin coat of chocolate to the ridged edges after the first chill.
- The Drizzle Temperature: Ensure your chocolate drizzle is barely warm. If it is too hot, it will melt the peaks of your “cloud-like” mousse.
- Tempering vs. Coconut Oil: While we use coconut oil for ease, tempering the chocolate will give you a professional shine that resists melting at room temperature.
Storing and Serving Your Mousse Cups
These cups are best served slightly chilled. Remove them from the refrigerator about 10 minutes before eating to let the chocolate shell soften just enough to bite through without shattering.
Store leftovers in an airtight container in the refrigerator for up to 5 days. For long-term storage, these peanut butter mousse cups freeze beautifully for up to 3 weeks. Simply thaw in the fridge for two hours before serving to maintain that velvety interior.
What to Serve With This Dessert
These rich, decadent cups pair perfectly with a light, acidic contrast. A fresh berry salad or even a side of spinach salad with a balsamic vinaigrette can cleanse the palate between bites of dense peanut butter.
If you are planning a full menu, these cups make an excellent finale to a hearty meal like chicken parmesan casserole or a comforting bowl of broccoli mac and cheese. For a lighter dinner option before dessert, consider these cauliflower tacos.
Frequently Asked Questions
It is not recommended. Natural peanut butter often separates, which can cause the mousse to lose its velvety structure and fail to hold its piped ridges.
While not strictly necessary if you keep them chilled, tempering will provide the best ‘snap’ and a glossy finish that doesn’t melt on your fingers.
Use silicone muffin liners. Once the chocolate is fully set in the freezer, the silicone can be peeled away cleanly without cracking the ridged edges.
They last up to 5 days in the refrigerator or 3 weeks in the freezer. Always store them in an airtight container to prevent the mousse from absorbing fridge odors.
This usually happens if the heavy cream wasn’t whipped to stiff peaks or if the cream was too warm. Ensure everything is chilled before whipping.
The Ultimate Peanut Butter Mousse Cups Recipe
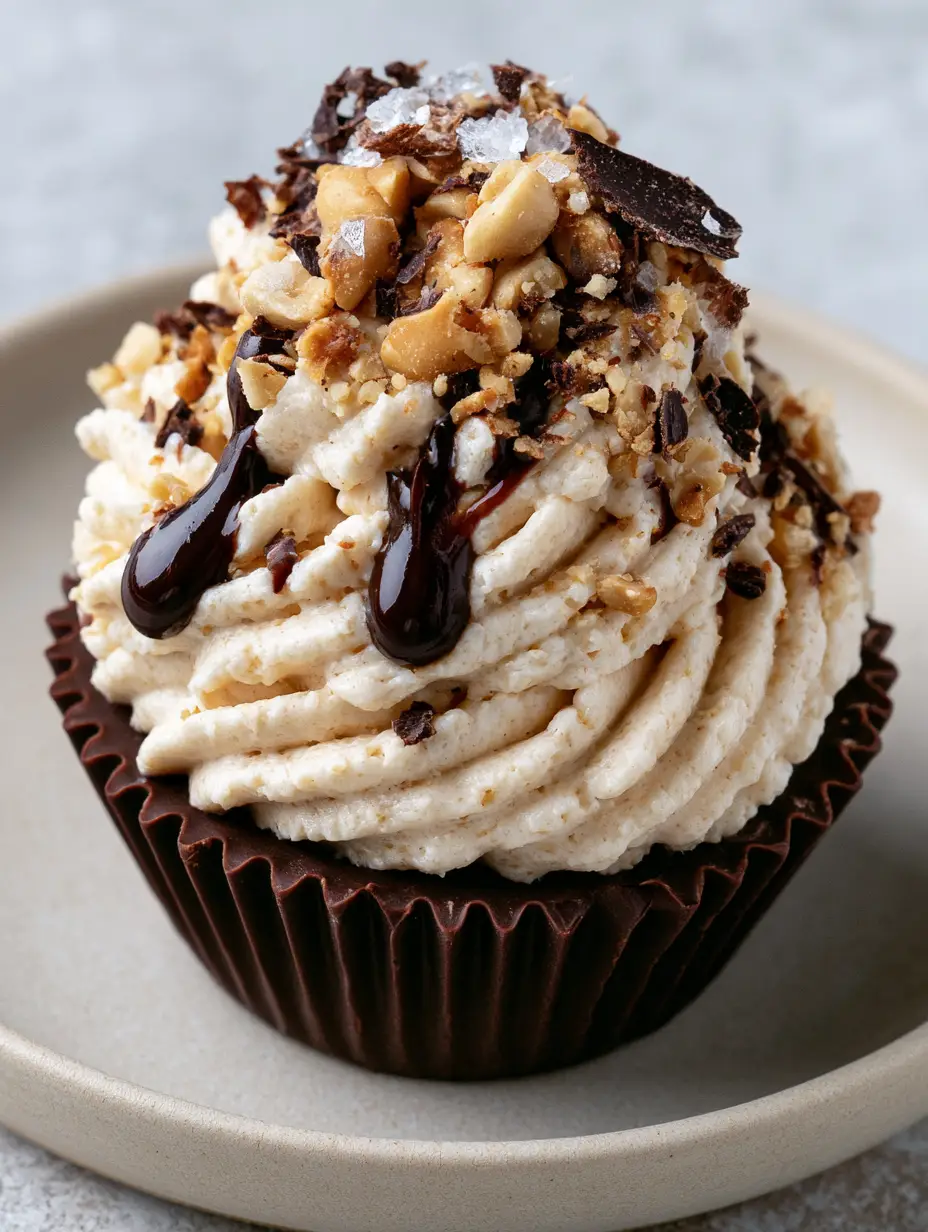
Peanut Butter Mousse Cups with Snappy Dark Chocolate Shells
Ingredients
Equipment
Method
- Melt the dark chocolate and coconut oil in a double boiler until smooth and glossy.
- Spoon 1 tbsp into each silicone liner and use a brush to coat the ridged sides evenly. Freeze for 15 minutes.
- Beat cold heavy cream in a chilled bowl until stiff peaks form.
- Mix peanut butter and powdered sugar, then gently fold in the whipped cream until velvety and cloud-like.
- Transfer mousse to a piping bag and pipe high swirls into the chilled shells.
- Drizzle with melted chocolate, sprinkle crushed peanuts, chocolate curls, and sea salt. Chill for 30 minutes before serving.
Notes
Ensure the cream is bone-cold for best piping stability.
Closing & Call to Action
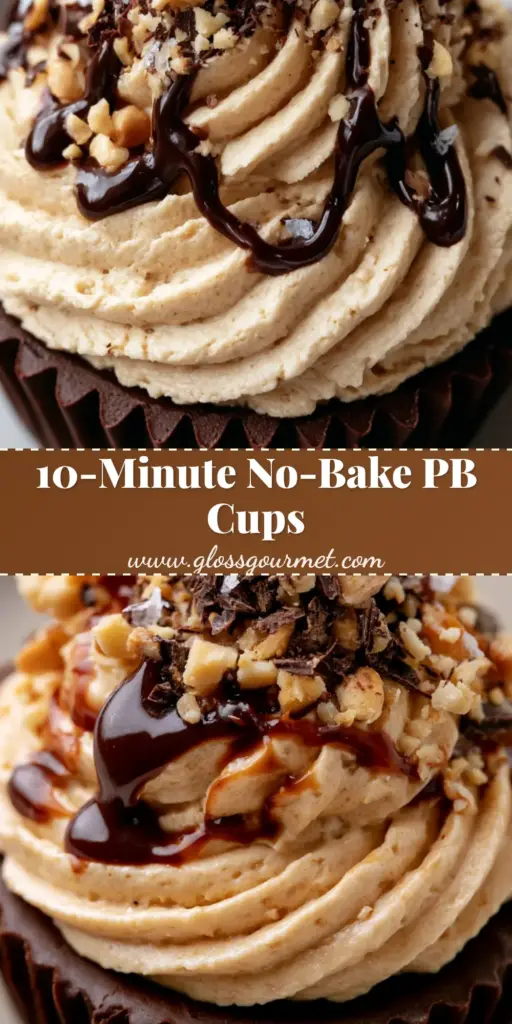
Creating these peanut butter mousse cups is an exercise in culinary texture and visual balance. Whether you are serving them at a dinner party or keeping a batch in the freezer for personal indulgence, they never fail to impress. The combination of the snappy shell and the velvety mousse is a timeless duo elevated by modern techniques.
If you made these, please leave a comment below and let me know how your chocolate snap turned out! Don’t forget to follow us on Pinterest for more gourmet inspiration. Pin this recipe to your dessert board so you always have it on hand!