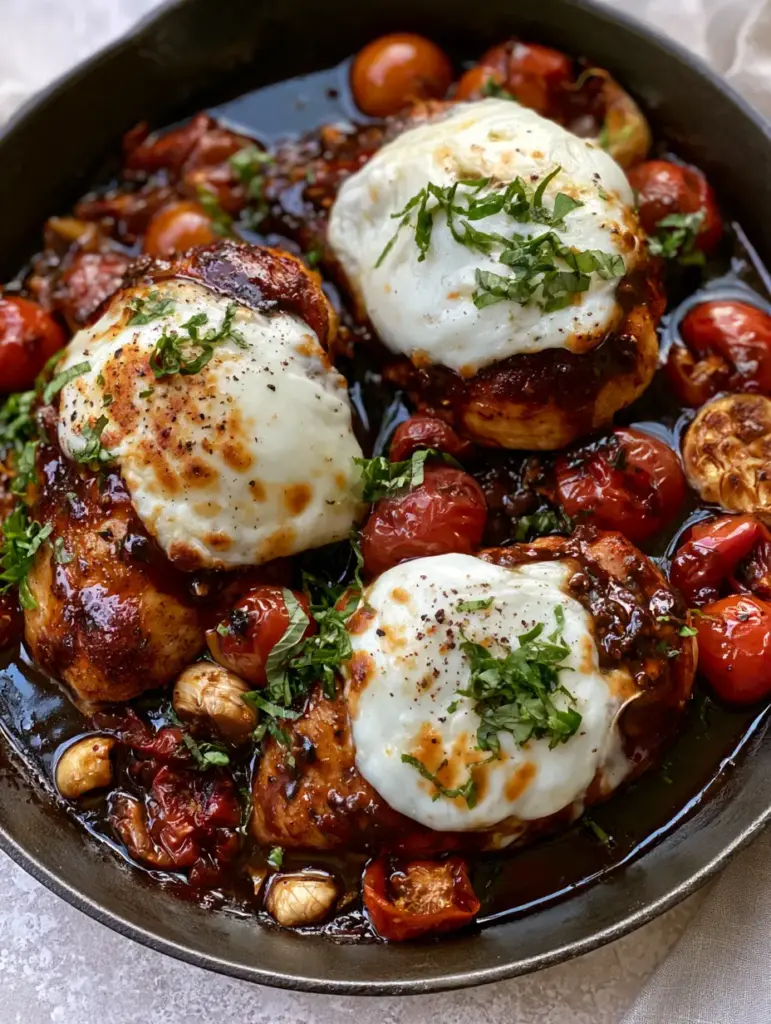
There is a specific kind of culinary magic that happens when high heat meets a cast iron surface, and this One Pan Balsamic Chicken is the ultimate testament to that alchemy. Imagine succulent, golden-seared chicken breasts bathed in a thick mahogany balsamic glaze that clings to every curve of the meat. This isn’t just a quick dinner; it is a sensory experience defined by the contrast of bubbling, toasted mozzarella and the sweet acidity of burst cherry tomatoes.
The beauty of the One Pan Balsamic Chicken lies in its sophisticated simplicity. By utilizing a single skillet, we layer flavors—starting with the rendered juices of the chicken and ending with a glossy, dark reduction that pulls the whole dish together. Whether you are hosting a weekend dinner party or looking to elevate your Tuesday night routine, this recipe delivers a restaurant-quality result with minimal cleanup.
The Flavor Profile That Makes This One Pan Balsamic Chicken Irresistible
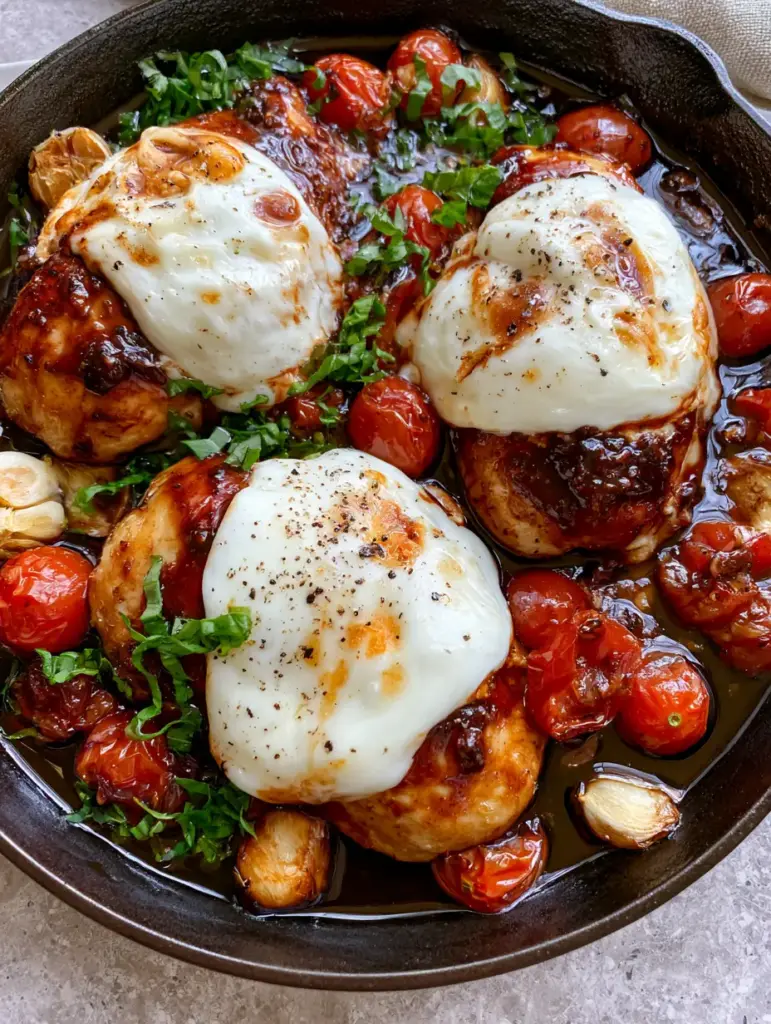
- The Mahogany Glaze: A complex, sweet-and-savory reduction that provides a high-gloss finish and deep umami depth.
- Dual-Texture Mozzarella: Thick mounds of cheese that are melted until bubbling, featuring those iconic golden-brown toasted spots for a nutty finish.
- Blistered Aromatics: Cherry tomatoes that pucker and burst in the heat, releasing their juices to mingle with the balsamic reduction and roasted garlic cloves.
- Herbal Brightness: A heavy scatter of fresh basil chiffonade added at the final second to provide a refreshing aromatic lift against the rich sauce.
Essential Elements for the Perfect Mahogany Glaze and Chicken Base
To achieve the visual and structural success of this One Pan Balsamic Chicken, you need high-quality ingredients that can withstand the intense heat of a sear while maintaining their integrity.
Chicken Breasts: Use 3 large, boneless skinless chicken breasts, approximately 1.5 lbs (680g) in total. Ensure they are even in thickness to guarantee they remain juicy while the exterior achieves that “golden-seared” visual prompt from our blueprint.
Balsamic Vinegar: Opt for a high-quality balsamic vinegar of Modena, about 1/2 cup (120ml). A better quality vinegar has a higher grape must content, which is essential for achieving that thick, mahogany syrup consistency without it becoming overly bitter.
Liquid Sweetener: 2 tbsp (30ml) of honey or pure maple syrup. This isn’t just for sweetness; the sugars are scientifically required to facilitate the Maillard reaction and create the glossy, high-light-catching surface seen in the professional photography.
The Cheese Foundation: 6 oz (170g) of fresh mozzarella, sliced into thick rounds or torn into large mounds. You want “thick mounds” as specified in the blueprint to ensure the cheese doesn’t simply disappear into the sauce but remains a distinct, bubbling feature.
Aromatic Texture: 1 cup (150g) of cherry tomatoes and 6-8 whole cloves of garlic. The garlic cloves should remain whole to roast slowly in the pan, becoming buttery and mild, while the tomatoes provide the “blistered” visual cue.
Foundational Fats and Seasoning: 2 tbsp (30ml) of extra virgin olive oil for the initial sear, 1 tsp (6g) of kosher salt, and a heavy crack of black pepper. The black pepper is a critical finishing element that cuts through the richness of the balsamic glaze.
Professional Culinary Tools for Skillet Success
To replicate the rustic, high-end look of our visual guide, a 12-inch (30cm) black cast iron skillet is non-negotiable. The heat retention of cast iron is what creates the “golden-seared” crust on the chicken and the “blistered” effect on the tomatoes.
You will also need a pair of heavy-duty kitchen tongs for precise flipping, a small whisk to emulsify the glaze, and a sharp chef’s knife to create the basil chiffonade. A meat thermometer is highly recommended to ensure the chicken reaches an internal temperature of 165°F (74°C) without overcooking.
Mastering the One Pan Balsamic Chicken: Step-by-Step Instructions
Phase 1: The Foundation of the Golden Sear
Pat the chicken breasts completely dry with paper towels; moisture is the enemy of a good sear. Season both sides generously with salt and a portion of the cracked black pepper. Heat your cast iron skillet over medium-high heat and add the olive oil.
Once the oil is shimmering and just starting to wispy-smoke, add the chicken. Visual Cue: You are looking for a deep, golden-brown crust to form, which usually takes 5-6 minutes per side. Do not crowd the pan; if your skillet is small, sear in batches to maintain the heat.
Phase 2: Blistering the Aromatics
Once the chicken is seared, push the breasts to the edges of the skillet. Drop the whole garlic cloves and cherry tomatoes into the center. Cook them for 3-4 minutes, shaking the pan occasionally.
Sensory Cue: Listen for the “pop” of the tomato skins. You want them to look “blistered and burst,” releasing their sweet juices into the pan. The garlic should turn a light golden color and become fragrant.
Phase 3: Reducing the Mahogany Glaze
Whisk together the balsamic vinegar and honey in a small bowl, then pour the mixture directly into the skillet. Bring the liquid to a vigorous simmer. As it bubbles, it will begin to reduce and thicken into a syrupy consistency.
Use a spoon to continuously baste the chicken breasts with the liquid. Visual Cue: The glaze should transition from a thin liquid to a thick, dark mahogany coating that clings to the meat and pools slightly at the edges of the skillet.
Phase 4: The Bubbling Mozzarella Finish
Top each chicken breast with the thick mounds of mozzarella cheese. Place the entire skillet under a preheated broiler for 2-3 minutes. Watch closely! You are looking for the cheese to become bubbling and white with those specific “golden-brown toasted spots.”
Remove the skillet from the oven. The residual heat from the cast iron will keep the sauce simmering. Immediately scatter the fresh basil chiffonade over the top and add one final, aggressive crack of black pepper across the entire dish.
Expert Tips for a Flawless Balsamic Result
- Room Temperature Meat: Take your chicken out of the fridge 20 minutes before cooking. This ensures the center cooks at the same rate as the exterior, keeping the breast “juicy.”
- The Glaze Consistency: If the sauce becomes too thick or “tacky,” whisk in a tablespoon of water or chicken broth to loosen it back to a glossy pourable state.
- Deglazing Logic: Ensure you scrape the bottom of the pan (the fond) when adding the balsamic vinegar. Those browned bits are concentrated flavor that deepens the mahogany color.
- Basil Precision: Only cut the basil at the very last second. Basil oxidizes and turns black quickly; for that “bright green” look, it must be fresh-cut and added to the warm (not boiling) dish.
Smart Storage and Reheating Guidelines
This One Pan Balsamic Chicken is best served immediately while the cheese is molten. However, leftovers can be stored in an airtight container for up to 3 days. To reheat, place the chicken in a pan with a splash of water and cover with a lid over low heat; this creates steam that remelts the cheese without drying out the meat.
We do not recommend freezing this dish, as the fresh mozzarella and blistered tomatoes lose their structural integrity and become watery upon thawing.
The Best Pairings for One Pan Balsamic Chicken
Because this dish has such a bold, acidic, and rich profile, it pairs beautifully with neutral starches that can soak up the mahogany glaze. Consider serving it alongside a plate of crispy potato bites for a texture contrast.
If you are looking for a lighter option, a fresh vegetable-heavy pasta primavera makes for a colorful and balanced plate. For those who enjoy a variety of poultry preparations, you might also like comparing this glaze to our sticky ginger soy glaze or even serving leftovers sliced inside a gourmet chicken club sandwich.
Finally, if you have seafood lovers at the table, the balsamic notes here provide a lovely counterpoint to a side of savory baked salmon.
Commonly Asked Questions about Skillet Balsamic Chicken
Absolutely. Chicken thighs are very forgiving and stay even juicier. Increase the cooking time by 2-4 minutes to ensure the thighs reach an internal temperature of 175°F (80°C) for the best texture.
Keep the garlic cloves whole and add them halfway through the chicken’s cooking time. This allows them to roast and soften without the risk of burning that minced garlic often faces.
To make this keto, replace the honey with a sugar-free maple syrup or a dash of erythritol. Balsamic vinegar contains some natural sugars, so use it in moderation.
You can use a stainless steel pan or any oven-safe heavy skillet. However, cast iron provides the best ‘blistered’ effect and superior heat for searing the chicken breasts.
If the glaze remains thin, it likely hasn’t simmered long enough to reduce. Ensure your honey or sugar is included, as this helps the caramelization. If needed, simmer for an extra 2-3 minutes on high heat.
The Definitive One Pan Balsamic Chicken Recipe
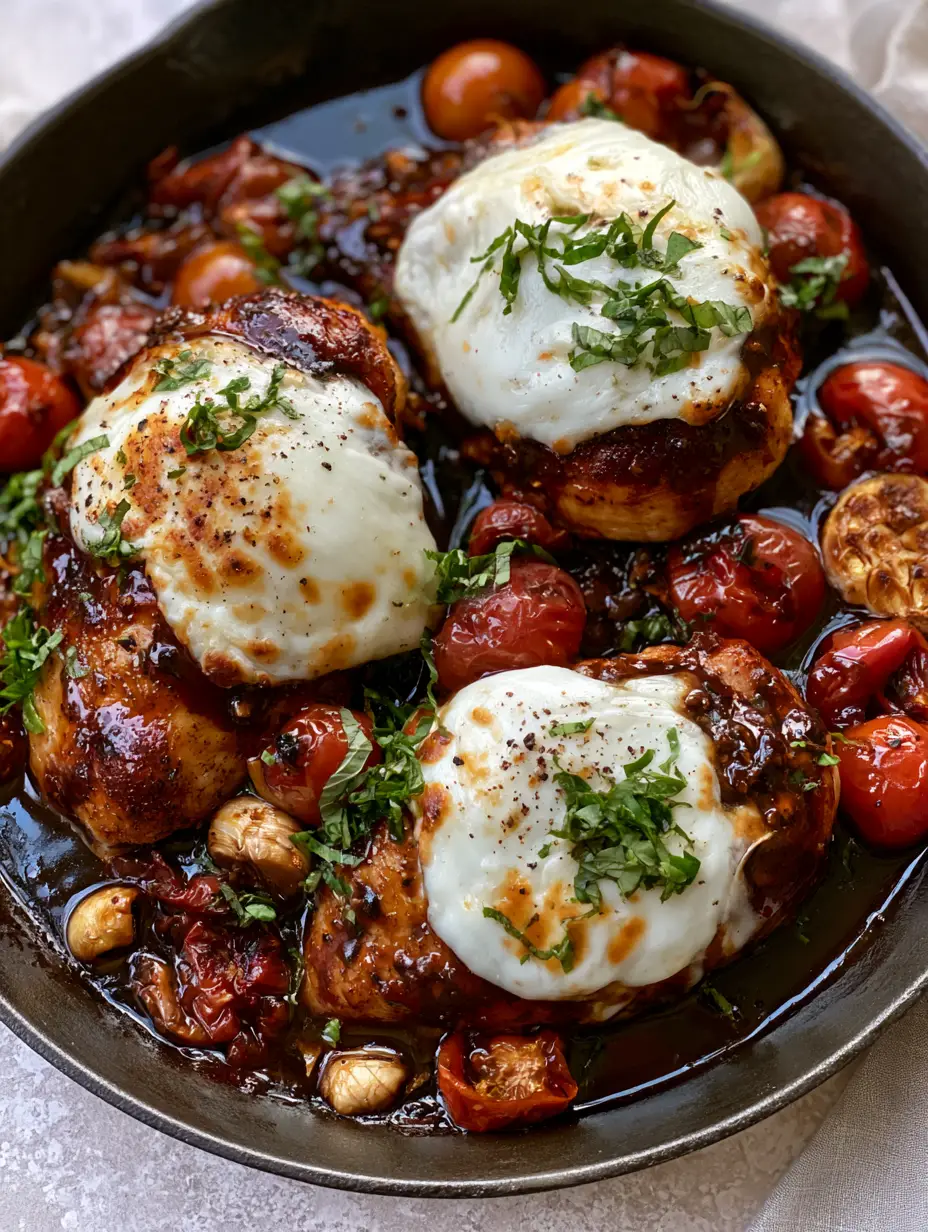
One Pan Balsamic Chicken with Melted Mozzarella and Blistered Tomatoes
Ingredients
Equipment
Method
- Heat olive oil in a cast iron skillet. Season dried chicken with salt and pepper. Sear for 5-6 minutes per side until a golden-brown crust forms.
- Move chicken to the edges. Add cherry tomatoes and whole garlic cloves to the center. Cook until tomatoes blister and pop.
- Pour in balsamic vinegar and honey. Simmer and baste chicken until the sauce is thick, mahogany, and glossy.
- Top chicken with mozzarella. Broil for 2-3 minutes until the cheese is bubbling with golden-brown toasted spots.
- Top with fresh basil chiffonade and extra cracked black pepper before serving directly from the skillet.
Notes
Do not wash the skillet before adding vinegar; the browned bits (fond) add flavor.
Closing Thoughts and Your Culinary Journey
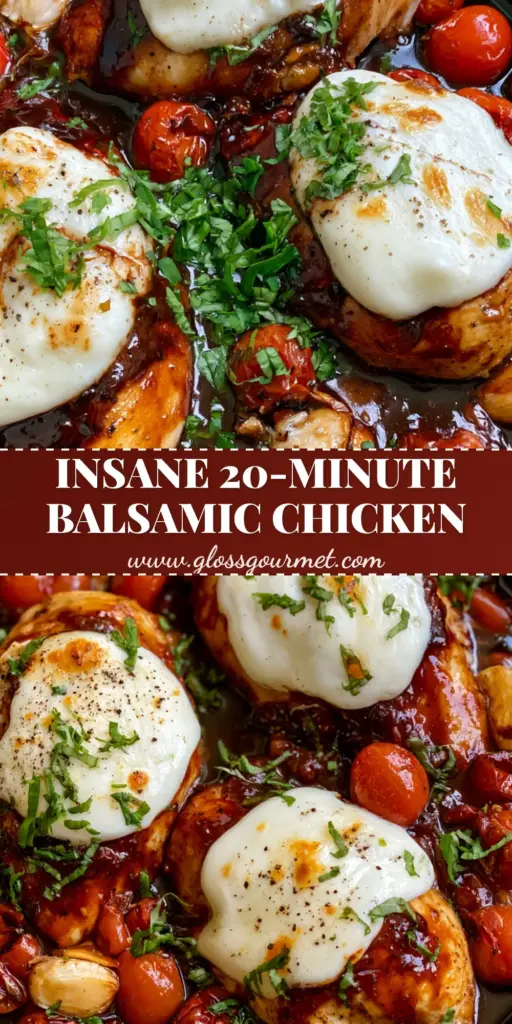
Mastering the One Pan Balsamic Chicken is a rite of passage for any home cook looking to understand the balance of acid, fat, and heat. The combination of the dark, glossy reduction and the bright green basil makes for a visual masterpiece that tastes even better than it looks. We invite you to share your results with us!
If you enjoyed this recipe, please leave a comment below and let us know how your glaze turned out. Don’t forget to follow us on Pinterest for more visually stunning recipe inspiration and save this pin to your “Easy Weeknight Dinners” board!