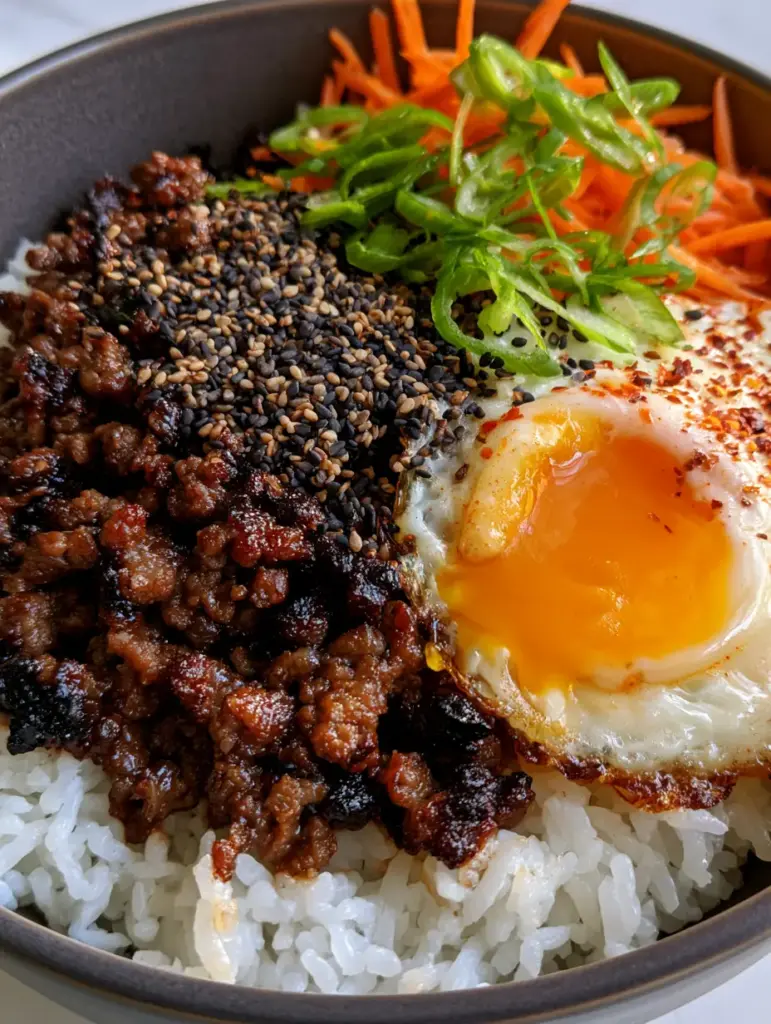
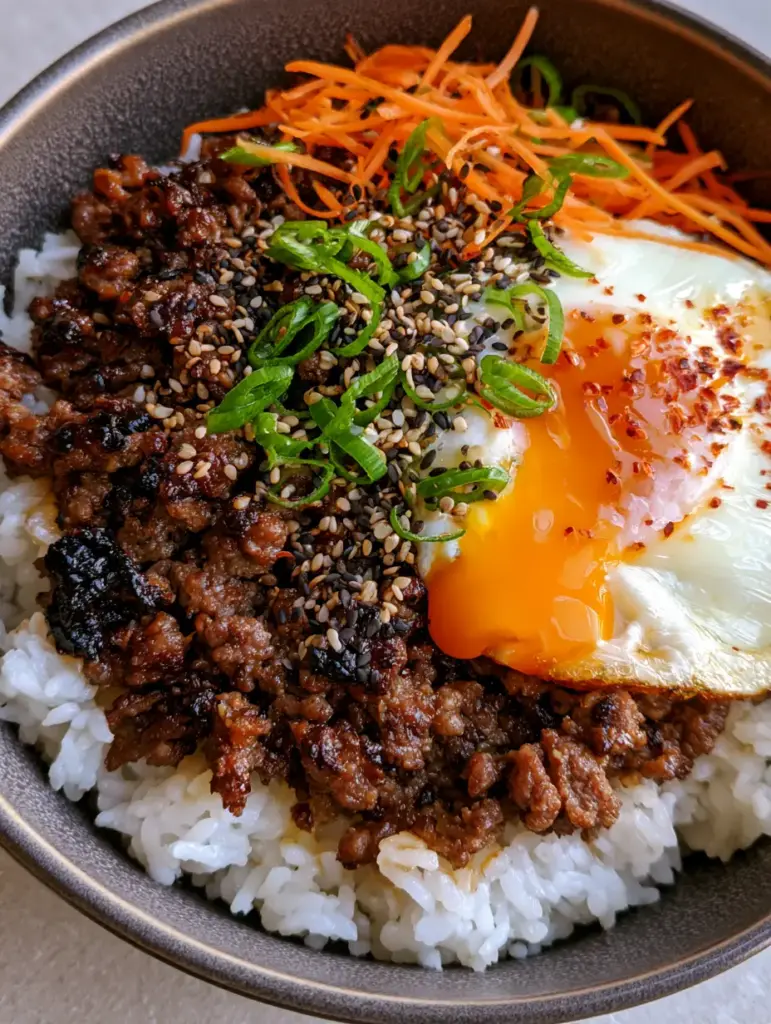
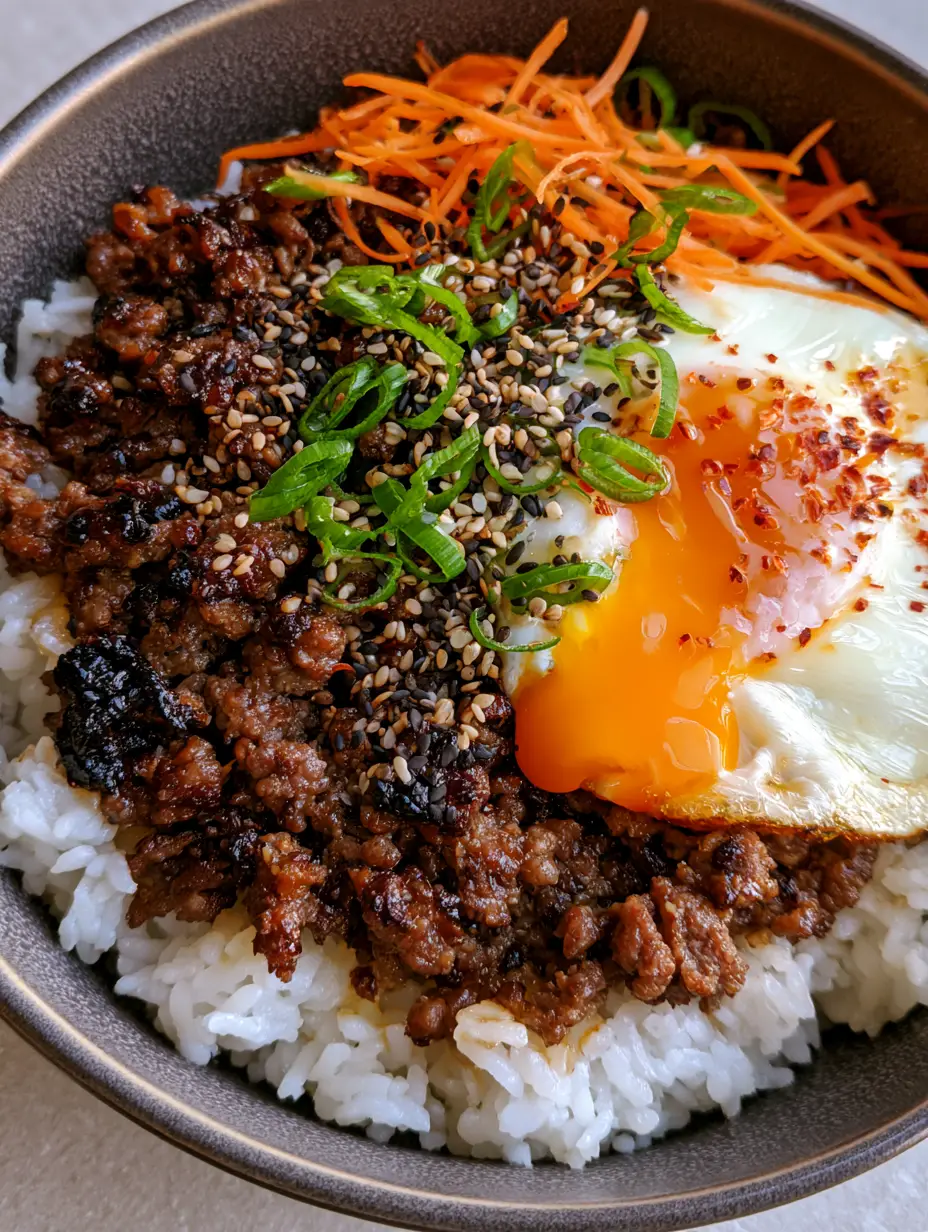
The Korean Bulgogi Beef Bowl is the holy grail of weeknight dinners, offering a symphony of textures and flavors that hit every corner of your palate. Imagine deeply caramelized ground beef, glistening with a dark soy and brown sugar glaze, showing those coveted charred crispy edges that only a high-heat sear can provide. This isn’t just a meal; it’s a visual masterpiece served in a matte charcoal ceramic bowl, where the foundation of fluffy white steamed jasmine rice meets the vibrant crunch of fresh vegetables.
What sets this Korean Bulgogi Beef Bowl apart is the contrast of temperatures and textures. You have the steaming warmth of the rice and savory beef paired against the refreshing chill of julienned raw carrots and sliced fresh cucumbers. The crowning glory is a fried egg with a perfectly translucent white and a bright orange runny yolk that is just beginning to break, creating a natural sauce that binds the entire dish together. Finished with a dense sprinkle of toasted black and white sesame seeds, thinly sliced scallions, and a hint of red chili flakes, this dish is as beautiful as it is delicious.
Whether you are a seasoned home cook or looking for a quick yet impressive meal, this recipe delivers professional results with minimal effort. It captures the essence of traditional Korean BBQ flavors but adapts them into a fast, ground-meat format that doesn’t require hours of marinating. Let’s dive into the science of the perfect sear and the art of the runny yolk.
Why You Will Crave This Specific Ground Beef Bulgogi
- Textural Contrast: You get the crunch of raw carrots and cucumbers against the tender, charred edges of the caramelized beef.
- The “Liquid Gold” Factor: A perfectly timed fried egg provides a rich, orange runny yolk that acts as a secondary glaze for the jasmine rice.
- Umami-Rich Glaze: The thick, soy-based bulgogi glaze utilizes brown sugar to achieve a glossy, restaurant-quality finish that clings to every morsel of meat.
- Visual Sophistication: The contrast of bright green scallions, orange carrots, and dual-toned sesame seeds against a charcoal bowl makes this a “smartphone-photography” ready meal.
- Efficiency: Unlike traditional sliced ribeye bulgogi, this ground beef version requires zero marinating time while maintaining maximum flavor density.
Essential Elements for the Ultimate Korean Bulgogi Beef Bowl
To achieve the visual and flavor profile described in our blueprint, every ingredient serves a specific culinary purpose. We aren’t just feeding people; we are building a flavor profile that balances salt, sugar, fat, and heat.
Ground Beef (80/20 Lean-to-Fat Ratio): 1 lb (454g) of ground beef is essential for achieving those crispy, charred edges. The fat content is necessary to fry the meat in its own juices before the glaze is added, ensuring the beef doesn’t just boil in liquid.
Steamed Jasmine Rice: 1.5 cups (285g) of dry jasmine rice provides the fluffy, slightly floral foundation. Its ability to absorb the runaway egg yolk and the soy-based glaze makes it the superior choice over shorter grain varieties for this specific bowl.
Dark Soy Sauce and Brown Sugar: 1/4 cup (60ml) soy sauce and 3 tbsp (36g) packed brown sugar form the base of our thick glaze. The sugar is critical for the caramelization process, reacting with the proteins in the beef (the Maillard reaction) to create that deep, dark color.
Aromatic Foundation: 3 cloves (15g) of minced garlic and 1 tsp (5g) of freshly grated ginger provide the “backbone” of Korean flavor. These aromatics infuse the oil and the meat, ensuring the beef isn’t just sweet, but deeply savory.
Fresh Produce for Crunch: 1 large (100g) carrot, julienned, and 1/2 (150g) English cucumber, thinly sliced, provide the necessary raw element. This mimics the banchan (side dishes) typically served with Korean BBQ, offering a palate cleanser between bites of rich beef.
The Garnish Trio: 2 stalks of thinly sliced green scallions, 1 tsp (3g) each of toasted black and white sesame seeds, and a pinch of red pepper flakes (gochugaru). These aren’t just for looks; the sesame seeds add nuttiness, while the flakes provide a subtle, creeping heat that cuts through the sugar.
The “Crown”: 1 large egg per bowl, fried until the whites are just set and translucent. A bright orange yolk is preferred for both visual pop and flavor richness.
Tools Required for Professional Results
To get that specific “charred crispy edge” look, your choice of equipment matters as much as your ingredients. If you’ve mastered this, you might also enjoy the sear techniques used in our expertly seared chicken thighs.
Cast Iron Skillet or Heavy Stainless Steel Pan: A heavy-bottomed pan retains heat better than thin aluminum, which is vital for caramelizing the sugars in the glaze without burning them. It allows the beef to develop a crust rather than just steaming.
Mandoline Slicer or Sharp Chef’s Knife: To get those “delicate julienned” carrots and perfectly uniform cucumber slices seen in the visual prompt, a mandoline is your best friend. If using a knife, ensure it is freshly sharpened to prevent bruising the scallions.
Rice Cooker or Tight-Lidded Pot: For the foundation of “fluffy white steamed jasmine rice,” precision water-to-grain ratios are key. A rice cooker ensures the grains remain distinct and not mushy.
Mastering the Char: Step-by-Step Bulgogi Preparation
Step 1: Achieving Fluffy Jasmine Rice
Rinse 1.5 cups (285g) of jasmine rice under cold water until the water runs clear; this removes excess surface starch and prevents clumping. Combine with 1.75 cups (415ml) of water in a pot, bring to a boil, then reduce to a low simmer, covered, for 15 minutes. Let it sit, covered, for another 5 minutes before fluffing with a fork to achieve that light, airy texture seen in the charcoal bowl.
Step 2: The High-Heat Beef Sear
Heat 1 tbsp (15ml) of neutral oil in your skillet over medium-high heat until shimmering. Add the 1 lb (454g) of ground beef, breaking it into large chunks but then leaving it undisturbed for 3-4 minutes. This is the secret to the “charred crispy edges”—you must allow a crust to form before stirring. Once browned, break the meat into smaller crumbles and cook until no pink remains.
Step 3: Infusing the Aromatics and Glaze
Lower the heat to medium and add the minced garlic and grated ginger, sautéing for 60 seconds until fragrant. Pour in the mixture of 1/4 cup (60ml) soy sauce, 3 tbsp (36g) brown sugar, and 1 tsp (5ml) toasted sesame oil. Stir constantly as the liquid bubbles; the sugar will begin to reduce and thicken into a “glistening dark soy glaze” that coats the beef perfectly.
Step 4: The Perfect Fried Egg
In a separate non-stick skillet, heat a small amount of oil over medium heat. Crack the eggs into the pan, ensuring they don’t touch. Cook until the whites are “perfectly translucent” and just set, but the yolk remains “bright orange and runny.” A lid placed over the pan for the last 30 seconds can help set the top of the whites without overcooking the yolk.
Step 5: Artful Assembly
Divide the rice into matte charcoal bowls. Spoon a generous portion of the caramelized beef over one side. Arrange the julienned carrots and sliced cucumbers next to the meat. Carefully slide the fried egg onto the center. Sprinkle the dense mixture of black and white sesame seeds, scallions, and red pepper flakes over the top, focusing the flakes on the egg for that specific visual detail. If you love this assembly style, check out our vibrant chicken burrito bowl for more inspiration.
Expert Tips for Success
- Don’t Overcrowd the Pan: If your skillet is small, cook the beef in two batches. Overcrowding leads to moisture buildup, which steams the meat instead of searing it, preventing those crispy charred edges.
- The Ginger Secret: Use a microplane to grate your ginger. This turns it into a paste that melts into the glaze, providing uniform flavor without woody chunks.
- Veggie Freshness: Keep your julienned carrots and sliced cucumbers in a bowl of ice water until the moment of serving. This ensures they stay “bright and fresh” as described in the blueprint.
- Yolk Precision: If you are nervous about the egg, cook it “sunny side up.” Do not flip it, as this will hide the orange yolk and ruin the visual flow of the bowl.
Storage, Reheating & Freezing
The Korean Bulgogi Beef Bowl is an excellent candidate for meal prep. The beef and rice can be stored in an airtight container in the refrigerator for up to 4 days. When reheating, add a teaspoon of water to the rice to help it re-steam in the microwave. However, for the best experience, always prepare the fried egg and fresh vegetables at the time of serving to maintain the textural contrast. The cooked beef also freezes beautifully for up to 3 months—just thaw overnight in the fridge before reheating.
What to Serve With This Dish
While this bowl is a complete meal on its own, it pairs beautifully with other Asian-inspired textures. For a refreshing side, consider a chilled vermicelli noodle salad to lean into the fresh vegetable theme. If you want to lean into the “crispy” side of the meal, our crispy Asian-style potatoes make a fantastic companion. For those who enjoy a bit more heat, serving a small side of kimchi or even a cup of Thai red curry noodle soup can create a multi-course experience.
Frequently Asked Questions
Yes, you can substitute ground turkey or chicken. However, because they are leaner, you may need to add an extra tablespoon of oil to achieve the same level of caramelization and prevent the meat from drying out.
The key is to let the ground beef sit undisturbed in a hot cast-iron skillet for at least 3-4 minutes. This allows the sugars in the glaze and the proteins in the meat to undergo the Maillard reaction, creating those charred, crispy edges.
The spice level is very mild, coming only from the red pepper flakes (gochugaru) sprinkled on top. You can easily adjust the heat by adding more flakes or a dollop of gochujang to the glaze.
Use a sharp chef’s knife to cut the carrot into thin planks, then stack the planks and cut them into thin matchsticks. Ensure your knife is very sharp to get the ‘delicate’ look seen in professional food styling.
The Complete Korean Bulgogi Beef Bowl Recipe
Korean Bulgogi Beef Bowl: The Ultimate 30-Minute Caramelized Ground Beef Recipe
Ingredients
Equipment
Method
- Rinse jasmine rice. Combine 1.5 cups rice with 1.75 cups water. Bring to boil, simmer covered for 15 mins. Fluff and set aside.
- Julienne the carrots and slice the cucumbers. Slice the scallions thinly on a bias.
- Heat oil in a skillet. Add beef and leave undisturbed for 3-4 minutes to develop charred crispy edges. Crumble and cook through.
- Add garlic and ginger for 1 min. Pour in soy sauce, brown sugar, and sesame oil. Simmer until the glaze is thick and glistening.
- In a separate pan, fry eggs until whites are set but yolks remain runny and bright orange.
- Layer rice, beef, carrots, and cucumbers in a bowl. Top with egg, sesame seeds, scallions, and red pepper flakes.
Notes
Rinse your rice thoroughly to ensure fluffy, non-sticky grains.
Closing & Call to Action
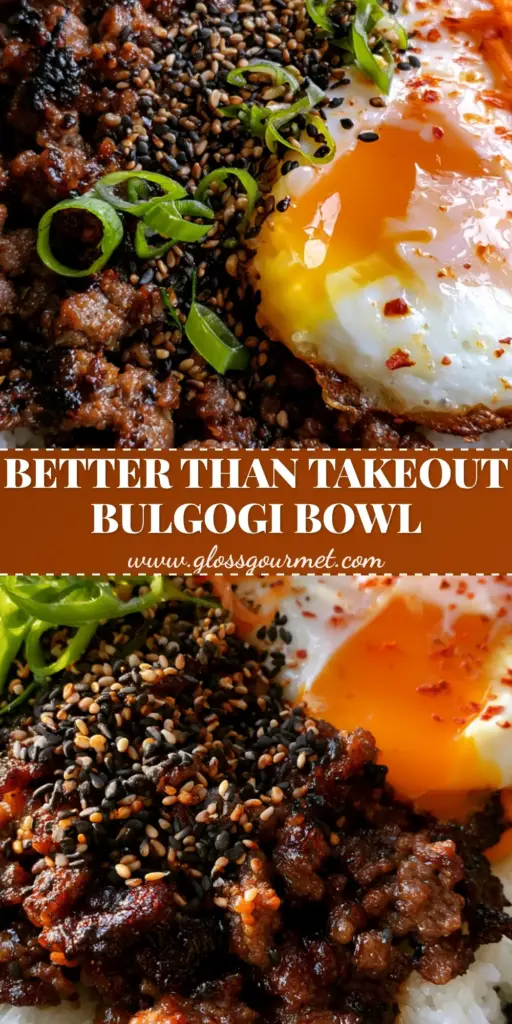
Mastering the Korean Bulgogi Beef Bowl is about embracing the beauty of simple ingredients handled with professional techniques. From the Maillard reaction on the ground beef to the precision of a runny egg yolk, this dish is a testament to how home cooking can reach elite levels. If you enjoyed this recipe, please leave a comment below and share your results! Don’t forget to follow us and save this recipe to your favorite boards on Pinterest for your next dinner inspiration.