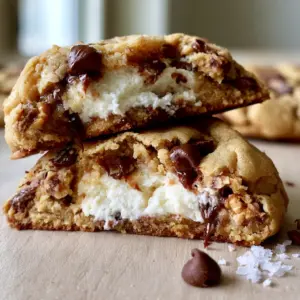
Imagine the aroma of a professional bakery wafting through your kitchen, where the scent of warm, spicy cinnamon meets the tang of sweet, cultured cream. These cinnamon roll cheesecake cookies are the ultimate hybrid dessert, combining the buttery, soft texture of a classic cookie with the decadent, gooey center of a New York-style cheesecake. They aren’t just cookies; they are a sensory experience designed to stop your scroll and satisfy every sweet craving.
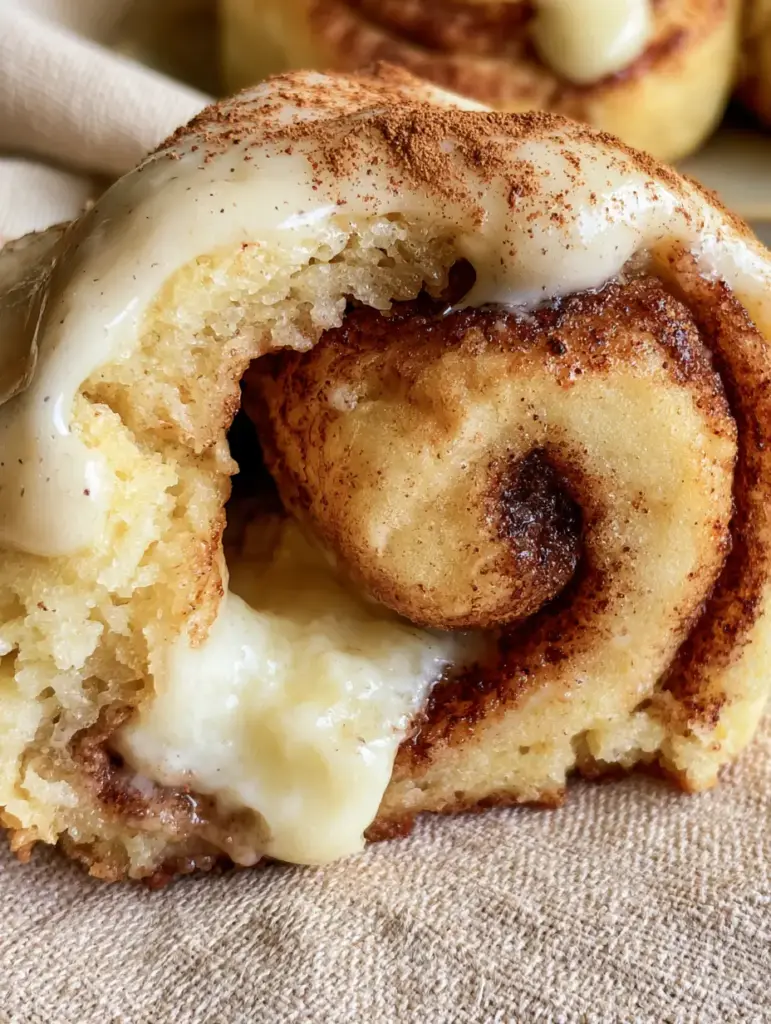
This recipe was developed to bridge the gap between high-end pastry work and home-baking convenience. Each bite offers a contrast of temperatures and textures: a warm, golden-brown exterior, a dark mahogany cinnamon sugar swirl, and a cool, molten cream cheese heart that flows out when broken. Whether you are a seasoned baker or just looking for your next viral kitchen project, these cookies deliver gourmet results every single time.
We’ve meticulously engineered this dough to ensure it remains soft for days, utilizing the science of moisture retention and fat ratios. Unlike standard cookies that might dry out, these maintain their “fresh-from-the-oven” appeal thanks to the heavy inclusion of brown sugar and a touch of cornstarch. If you have ever enjoyed our stuffed cookie recipes, you know that we take the “middle” of our cookies very seriously.
Why These Cinnamon Roll Cheesecake Cookies Are a Gourmet Revelation
- The Molten Architecture: A hidden pocket of sweetened cream cheese stays creamy and soft, creating a “lava” effect when you break the cookie in half.
- Visual Depth: Visible swirls of dark mahogany cinnamon sugar are marbled throughout the dough, ensuring every millimeter is packed with flavor.
- Professional Finish: A thick, glossy vanilla bean glaze is drizzled generously over the top, mimicking the classic look of a Cinnabon roll.
- Textural Contrast: The cookie base is soft and golden brown, providing a sturdy yet tender vessel for the silky smooth filling.
The Anatomy of Ingredients: Choosing Quality for Success
To achieve the visual and flavor profile described in our blueprint, every ingredient serves a functional purpose. We don’t believe in “fluff” ingredients; everything here is about structure, flavor, and that iconic golden finish.
Unsalted Butter (1 cup / 227g): We use high-fat European-style butter for a richer flavor. It is creamed with the sugars to create air pockets that allow the cookie to rise and stay soft.
Full-Fat Cream Cheese (8 oz / 225g): This is the soul of the molten center. Ensure you use the block variety, not the spreadable tub version, to maintain the structural integrity required for stuffing.
Dark Brown Sugar (1 cup / 200g): The molasses in dark brown sugar provides the moisture needed for a “soft-baked” texture and helps achieve that golden-brown color.
Cinnamon Sugar Swirl (4 tbsp / 60g): A blend of Ceylon cinnamon and granulated sugar. This creates the “dark mahogany” swirls that characterize a true cinnamon roll aesthetic.
Vanilla Bean Paste (1 tbsp / 15ml): While extract works, paste provides the tiny black flecks in the glaze that signal a high-end, professional dessert. This is a secret we often use in our advanced holiday baking to elevate the visual appeal.
Essential Equipment for the Perfect Stuffed Cookie
Achieving the “Extreme Close-Up” quality seen in our photos requires a few specific tools to ensure consistency and ease of assembly.
A large cookie scoop (3 tbsp capacity) is non-negotiable for ensuring every cookie is the same size, which guarantees even baking. You will also need parchment paper or silicone mats to prevent the sugar swirls from sticking to the pan. A handheld or stand mixer is necessary to properly aerate the butter and sugar, which is the foundation of the soft dough. Finally, a small offset spatula helps in drizzling the glossy glaze with precision, catching the light perfectly for your own social media photos.
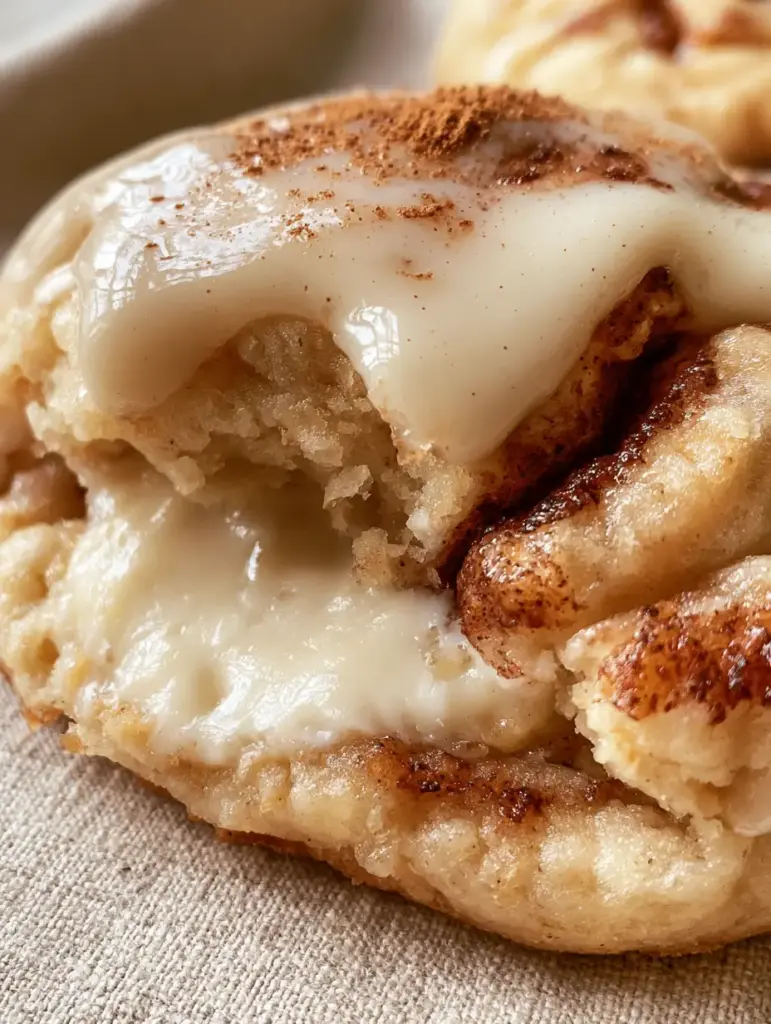
The Secret to the Molten Cheesecake Center
Preparing the Cheesecake Filling
The biggest mistake bakers make with stuffed cookies is using a filling that is too soft. To get that molten center that doesn’t simply disappear into the dough, you must sweeten the cream cheese with a little powdered sugar and then freeze it. Scoop small half-tablespoon dollops onto a tray and freeze for at least 30 minutes. This ensures the filling stays intact long enough for the cookie dough to set around it in the oven.
Creating the Mahogany Cinnamon Swirl
To get the “visible swirls” mentioned in our visual blueprint, do not fully mix the cinnamon sugar into the dough. Once the dough is formed, sprinkle the cinnamon sugar mixture over the top and use a knife or spatula to fold it in just two or three times. This creates distinct ribbons of dark mahogany spice rather than turning the whole cookie a muddy brown color.
The Art of Stuffing and Shaping
Take a portion of dough, flatten it in your palm, and place a frozen cream cheese puck in the center. Wrap the dough around it, ensuring no cream cheese is visible. This “sealed vault” method is what allows the filling to turn molten without leaking out onto your baking sheet. It’s a technique similar to what we use for savory stuffed bites, ensuring a clean exterior with a surprise interior.
Step-by-Step Instructions for Bakery-Style Results
1. Creaming for Structure
In a large bowl, cream the softened butter, dark brown sugar, and granulated sugar for at least 3-4 minutes. You are looking for a visual change: the mixture should turn pale and fluffy. This step incorporates air, which reacts with the leavening agents to give you that thick, soft cookie base.
2. Incorporating the Dry Ingredients
Slowly add your flour, cornstarch, and baking soda. The cornstarch is our “invisible” ingredient; it softens the proteins in the flour, ensuring the cookie is tender rather than chewy. Mix until just combined; overmixing at this stage will develop gluten and make the cookies tough.
3. The Swirl and Chill
Gently marble in the cinnamon sugar. Once the cookies are shaped and stuffed, they must chill in the refrigerator for at least 60 minutes. Chilling prevents the butter from melting too quickly, which keeps the cookies thick and prevents them from spreading into thin pancakes.
4. The Bake and Visual Cues
Bake at 350°F (175°C) for 10-12 minutes. Look for the “soft golden brown” edges mentioned in the prompt. The centers should still look slightly underbaked and soft to the touch. They will firm up as they cool on the hot pan, locking in that molten center.
5. Drizzling the Glossy Glaze
Whisk together powdered sugar, heavy cream, and vanilla bean paste until you have a thick, pourable consistency. Drizzle it over the warm cookies. The heat will cause the glaze to set with a “thick glossy” finish. Finish with a fine dusting of ground cinnamon for that final professional touch.
Expert Tips for Success
- Room Temperature Ingredients: Ensure your eggs and butter are at room temperature to create a smooth, emulsified dough that won’t split.
- Don’t Skip the Freeze: If the cream cheese isn’t frozen solid before stuffing, it will merge with the dough and you’ll lose the molten effect.
- Measure by Weight: For the most consistent results, use a kitchen scale. Flour is notoriously easy to over-pack in a measuring cup.
- The “Swoosh” Technique: Use a spoon to create a small indentation on top of the cookie before glazing to hold more of that delicious vanilla bean icing.
What to Serve With Indulgent Cheesecake Cookies
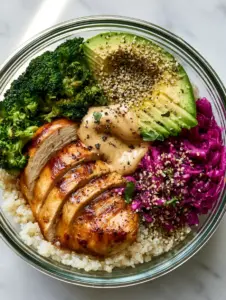
Since these cookies are incredibly rich, they pair best with beverages or lighter fare. A cold glass of milk is the classic choice, but a bitter espresso or a dark roast coffee balances the sweetness of the vanilla glaze perfectly. If you are serving these as part of a brunch spread, consider starting with something fresh like a vibrant green salad or even savory avocado toast to provide a palate-cleansing contrast before diving into the cookies.
For those looking for a full themed meal, these make an excellent dessert following a savory main like classic garlic chicken. The herbal notes of the chicken prepare the taste buds for the warm spice of the cinnamon.
Frequently Asked Questions
Yes! These cookies freeze beautifully. Thaw them in the refrigerator overnight and give them a quick warm-up before serving for the best texture.
We don’t recommend it. Low-fat cream cheese has a higher water content and will likely leak out or become grainy during the baking process.
The key is using heavy cream instead of milk and adding the glaze while the cookies are still slightly warm, which allows it to flow slightly and then set with a high shine.
Because of the cream cheese center, these cookies should be stored in an airtight container in the refrigerator for up to 5 days. Reheat for 10 seconds in the microwave to restore the molten center.
This usually happens if the cream cheese balls weren’t frozen solid before stuffing, or if the dough was too warm. Always freeze the filling for at least 30 minutes and chill the assembled dough.
Cinnamon Roll Cheesecake Cookie Recipe
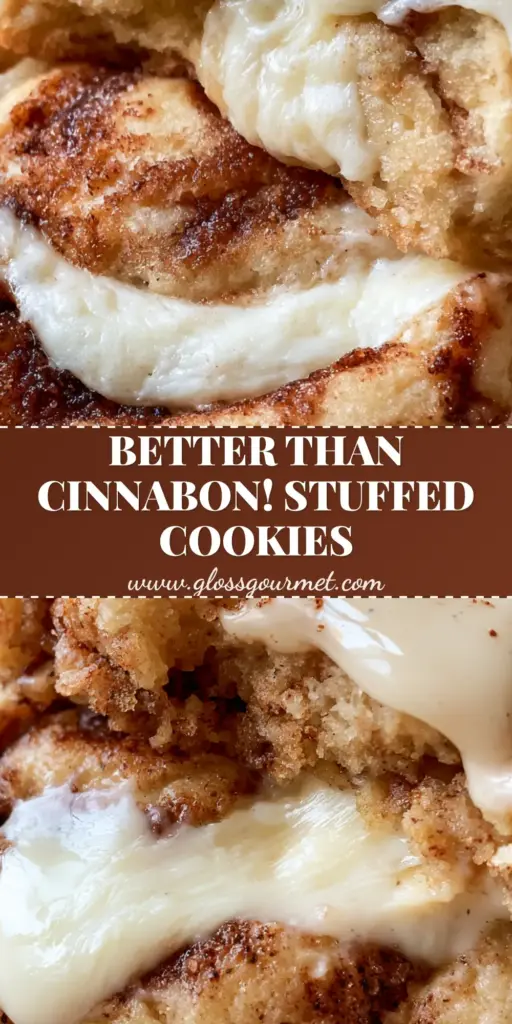
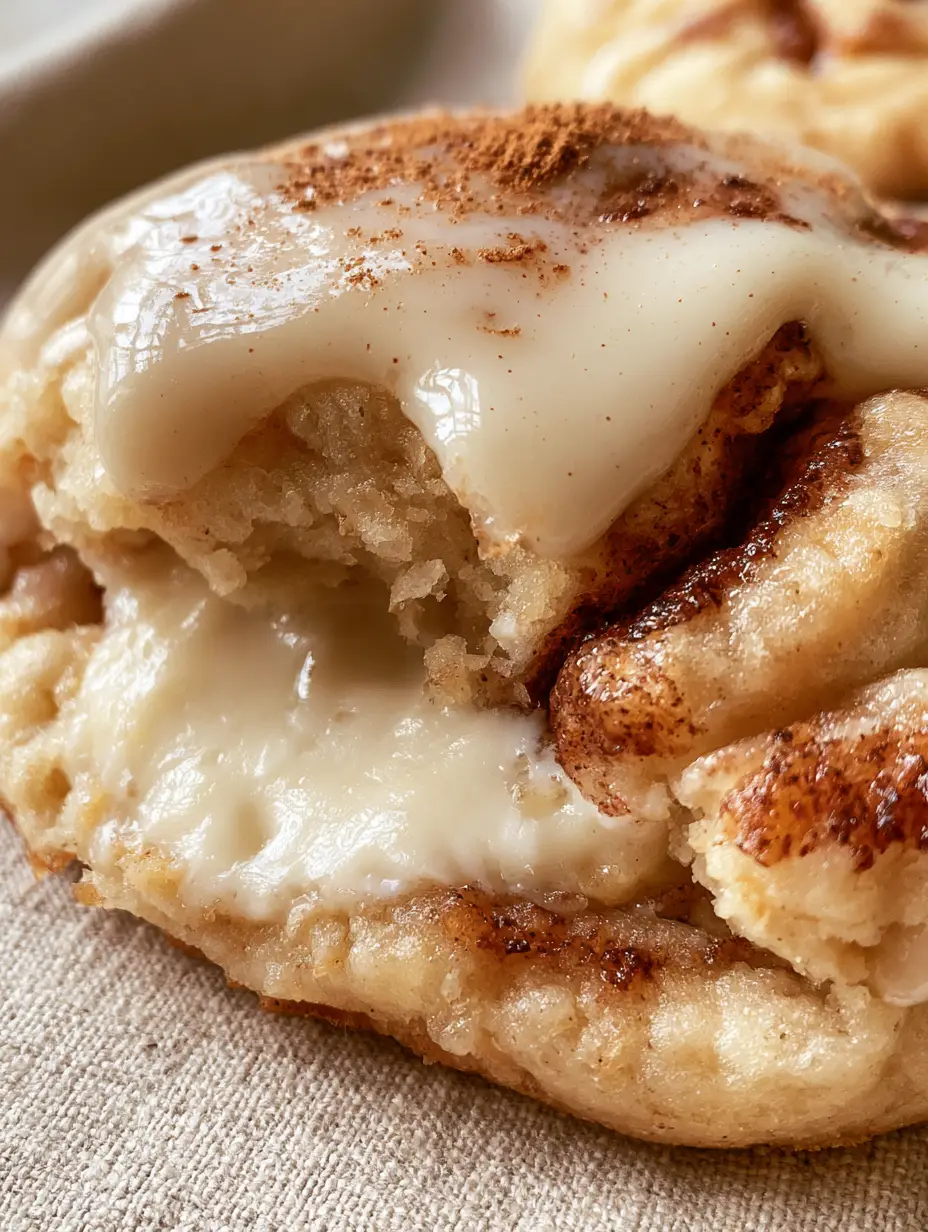
Cinnamon Roll Cheesecake Cookies with a Molten Cream Cheese Center
Ingredients
Equipment
Method
- Mix cream cheese and powdered sugar until smooth. Scoop into 12 small balls and freeze for 30 minutes until solid.
- Cream butter and sugars until fluffy. Add eggs and vanilla, then fold in dry ingredients until just combined.
- Sprinkle cinnamon sugar over the dough and fold twice to create dark mahogany swirls.
- Wrap cookie dough around the frozen cream cheese balls. Chill the assembled dough balls for 1 hour.
- Bake at 350°F (175°C) for 10-12 minutes until edges are soft golden brown.
Notes
Do not overmix the cinnamon sugar if you want visible swirls.
Closing & Call to Action
These cinnamon roll cheesecake cookies are more than just a treat; they are a masterpiece of culinary logic and visual appeal. By following these steps, you’ll create a cookie that looks exactly like a professional food photograph and tastes even better. The molten center and glossy glaze make these the perfect centerpiece for your next gathering or a special weekend project.
Did you make these? We want to see your “cookie pull” photos! Tag us on social media and be sure to follow our Pinterest for more decadent dessert inspiration. If you loved the creamy filling in this recipe, you might also enjoy our creamy lemon cheesecake for a citrusy twist on the cheesecake theme.