Imagine holding a perfectly portioned, sunshine-filled dessert in the palm of your hand. These no-bake lemon cheesecake tarts are the epitome of summer elegance, combining a thick, textured golden-brown crust with a filling so silky it practically glows. Whether you are hosting a garden party or just craving a bright, citrusy treat, this recipe delivers professional results without ever turning on the oven.
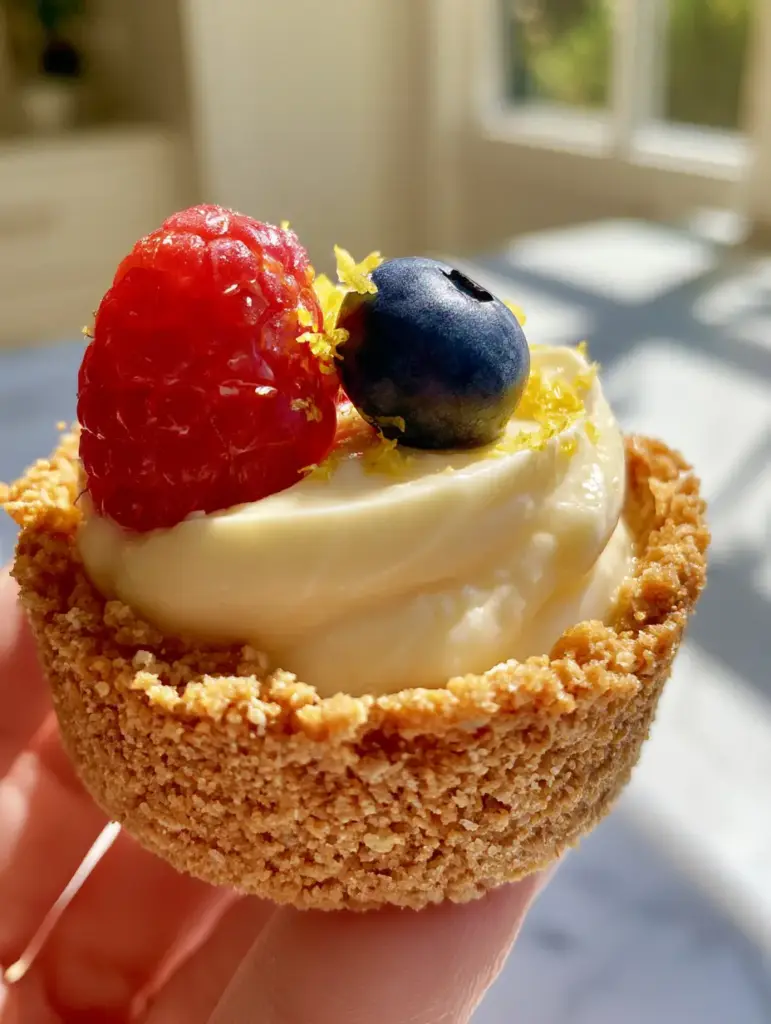
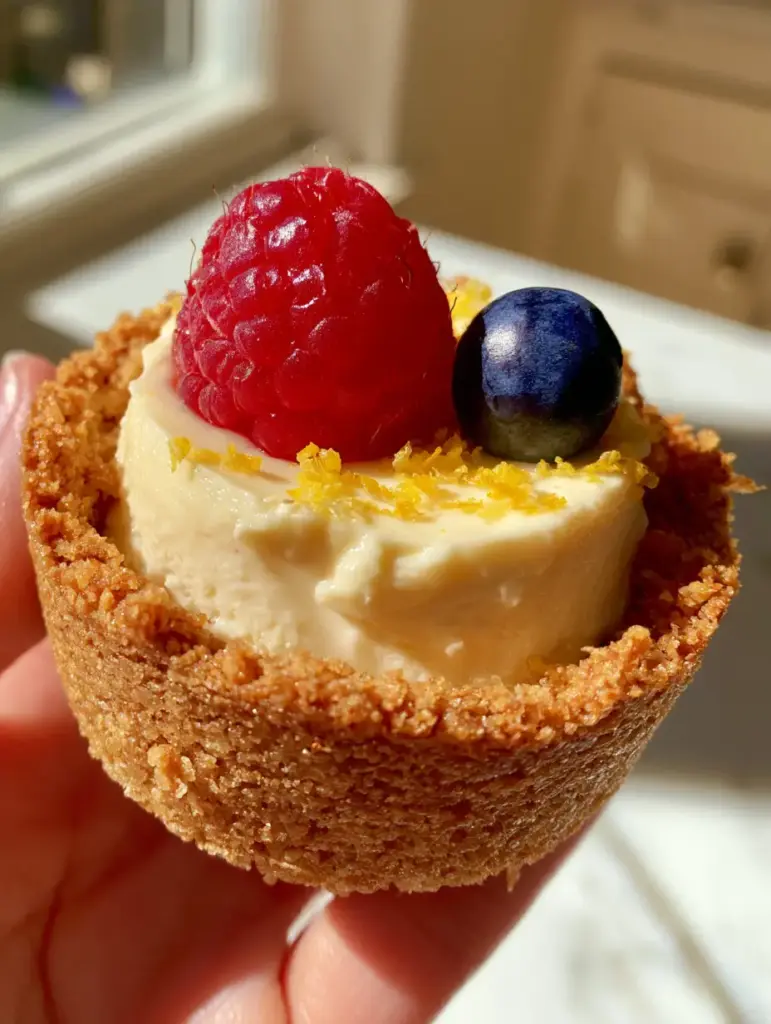
The magic of these tarts lies in the contrast of textures. You get the satisfying crunch of buttery graham cracker crumbs followed immediately by a dense, pale-ivory lemon cream cheese mousse that melts on the tongue. Each tart is a visual masterpiece, crowned with a glistening red raspberry, a plump blueberry, and delicate ribbons of bright yellow zest that catch the light of a sunny kitchen window.
Why You Will Obsess Over These Zesty Mini Delights
- Textural Perfection: We achieve a specific “sandy” yet stable crust that holds its shape, mirroring the high-quality mobile photography style of elite patisseries.
- Silky Mousse Consistency: By balancing full-fat cream cheese with aerated heavy cream, the filling remains dense and silky with a slight, appetizing sheen.
- Visual Brilliance: The combination of deep blue, vibrant red, and electric yellow zest makes these tarts look like they belong in a high-end food blog’s POV style photo.
- Zero-Bake Ease: Skip the water baths and the cracked tops associated with traditional cheesecakes while achieving a superior mouthfeel.
Foundational Ingredients for the Ultimate Lemon Mousse
To achieve the specific pale-ivory hue and dense texture seen in the visual blueprint, we must use specific high-quality fats and stabilizers. Here is what you need for your no-bake lemon cheesecake tarts:
Graham Cracker Crumbs: You will need 2 cups (200g) of finely crushed crackers. These provide the “textured, golden-brown” base that anchors the tart.
Unsalted Butter: 1/2 cup (113g) of melted butter acts as the glue. It saturates the crumbs to ensure the crust is “visible and buttery” rather than dry and fall-apart.
Full-Fat Cream Cheese: 16 oz (450g) of softened cream cheese is the heart of the mousse. Use the block style, not the tub, to ensure the filling is “dense and silky.”
Powdered Sugar: 1 cup (120g) provides sweetness without the graininess of granulated sugar, preserving that “slight sheen” in the final finish.
Heavy Whipping Cream: 1 cup (240ml) of cold cream is folded in to create the “mousse” lift. It transforms a heavy cheese base into an airy, cloud-like texture.
Fresh Lemon Juice and Zest: You will use 1/4 cup (60ml) of juice and 1 tbsp (6g) of zest inside the mousse. This provides the “bright yellow” flavor profile that cuts through the rich dairy.
Vanilla Bean Paste: 1 tsp (5ml) adds those tiny black specks and a depth of flavor that complements the citrus. If you’ve enjoyed our cinnamon roll cheesecake cookies, you know how essential vanilla is to a good cream cheese base.
Fresh Berries: One large red raspberry and one plump blueberry per tart. These must be “glistening” and ripe to provide the necessary color contrast against the ivory cream.
Essential Tools for a Professional Finish
To replicate the sharp focus and exquisite textures of our visual prompt, you need the right equipment. A micro-plane is non-negotiable for creating those “fine lemon zest ribbons” that sit delicately atop the berries.
Individual tartlet pans with removable bottoms are highly recommended. These allow you to pop the tarts out without damaging the “thick, textured” edges of the graham cracker crust. A high-speed hand mixer is also vital to aerate the cream cheese until it reaches a “pale-ivory” perfection.
Mastering the Thick Graham Cracker Crust
Step 1: Achieving the “Sandy” Texture
Combine your graham cracker crumbs with a pinch of salt and the melted butter. Stir until the mixture looks like wet sand. When you squeeze a handful, it should hold its shape perfectly—this is the secret to a crust that is “thick and textured” but still melts in your mouth.
Step 2: Pressing and Setting
Distribute the crumbs into your tart shells. Use the bottom of a measuring cup to press the crumbs firmly into the bottom and up the sides. Aim for a thickness of about 1/4 inch (6mm). Place the shells in the freezer for 15 minutes to firm up the butter, creating a stable vessel for your no-bake lemon cheesecake tarts.
Creating the Silky Lemon Cream Cheese Mousse
Step 3: Beating the Base
In a large bowl, beat the softened cream cheese and powdered sugar until completely smooth. You are looking for a “slight sheen” and no visible lumps. Add the lemon juice, lemon zest ribbons, and vanilla bean paste, mixing until just combined.
Step 4: Folding for Volume
In a separate chilled bowl, whip the heavy cream until stiff peaks form. Gently fold the whipped cream into the lemon cheese mixture using a spatula. Do not over-mix, or you will lose the “mousse” texture. The final result should be a “pale-ivory” cream that looks velvety and light.
Step 5: The Chilling Phase
Pipe or spoon the mousse into your prepared graham cracker shells. Smooth the tops with an offset spatula. Chill in the refrigerator for at least 4 hours, though overnight is best for the flavors to meld and the structure to set firmly.
Garnishing for Visual Impact
Before serving, it is time to bring the “handheld smartphone photo” aesthetic to life. Place one large, glistening red raspberry and one deep blue blueberry slightly off-center on each tart. Use your micro-plane to dust a delicate layer of bright yellow lemon zest over the top. The contrast between the matte ivory cream and the shiny berries is what makes these no-bake lemon cheesecake tarts truly “exquisite.”
Expert Tips for Success
- Temperature Matters: Ensure your cream cheese is truly at room temperature. If it’s even slightly cold, you will get tiny lumps that ruin the “silky” visual goal.
- Zest First: Always zest your lemons before juicing them. It is nearly impossible to get those “fine ribbons” from a squeezed lemon half.
- Berry Prep: Gently pat your berries dry after washing. Any excess water will bleed into the pale mousse and ruin the clean, sharp focus of the presentation.
- Clean Cuts: If you are making one large tart instead of mini ones, dip your knife in hot water and wipe it clean between every slice to maintain that “dense and silky” cross-section.
How to Store Your Lemon Tarts
These tarts are best enjoyed within 24 hours of assembly to ensure the crust remains crunchy. However, they can be stored in an airtight container in the refrigerator for up to 3 days. The moisture from the mousse will eventually soften the graham cracker base, so if you prefer a “textured” crust, don’t wait too long!
You can freeze the filled tart shells (without the berry garnish) for up to one month. Thaw in the refrigerator for 2 hours before adding the fresh fruit and zest. This is a great trick if you’re busy making other items like our savory sushi bake or preparing a batch of crispy cottage cheese tots.
What to Serve With This Citrus Treat
These tarts are a bright, acidic finish to a hearty meal. They pair beautifully after a dinner of classic chicken vesuvio or a lighter fresh spinach salad. If you are hosting a brunch, serve them alongside our fluffy homemade pancakes for a balance of sweet and tart.
For a drink pairing, a crisp glass of Prosecco or a light herbal tea complements the lemon notes perfectly. The natural daylight aesthetic of this recipe makes it the ideal “grand finale” for an outdoor summer lunch.
Frequently Asked Questions
Yes, you can substitute the cream cheese and whipping cream with plant-based alternatives like cashew cream and coconut whip, though the color may shift from pale-ivory to a slightly darker cream.
Absolutely! While the red raspberry and blueberry provide classic contrast, blackberries or sliced strawberries also work beautifully as long as they are fresh and dry.
Yes, fresh lemon juice is essential for both the bright flavor and the chemical reaction that helps the no-bake mousse set into a dense, silky texture.
Ensure your butter is fully melted and thoroughly mixed with the crumbs until they feel like wet sand. Pressing firmly with a flat-bottomed tool is key for stability.
If the mousse is soft, the heavy cream may not have been whipped to stiff peaks, or the tart hasn’t chilled long enough. A minimum of 4 hours in the fridge is required for the fats to solidify.
The Ultimate No-Bake Lemon Cheesecake Tarts Recipe
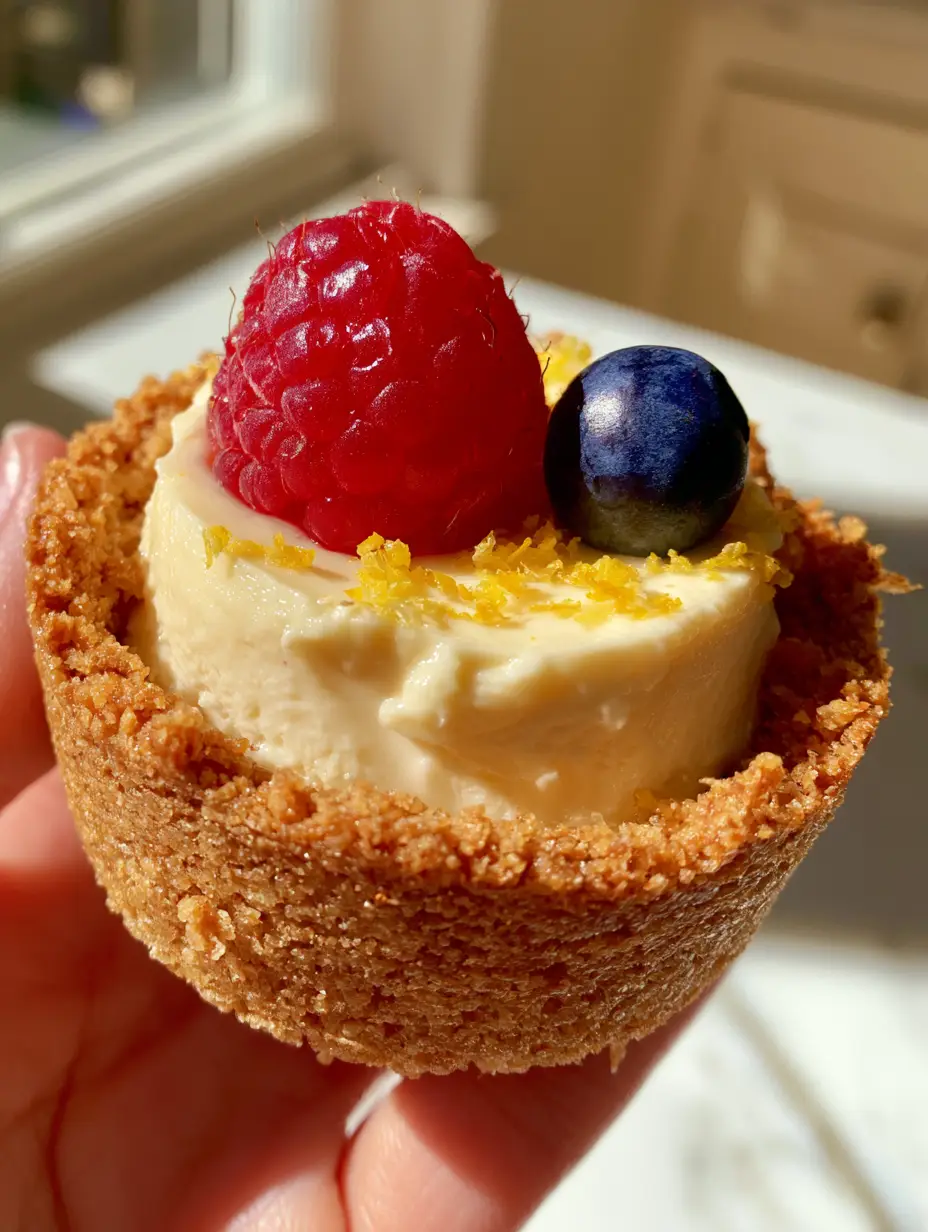
No-Bake Lemon Cheesecake Tarts with Buttery Graham Cracker Crust
Ingredients
Equipment
Method
- Combine graham cracker crumbs and melted butter until it resembles wet sand.
- Press the mixture into tart pans, creating a thick, textured edge. Freeze for 15 minutes.
- Beat cream cheese and powdered sugar until silky with a slight sheen. Mix in lemon juice, zest, and vanilla.
- Whip heavy cream to stiff peaks and gently fold into the cream cheese mixture until pale-ivory and airy.
- Pipe the mousse into shells and refrigerate for at least 4 hours.
- Top each tart with one raspberry, one blueberry, and a dusting of micro-planed lemon zest ribbons.
Notes
Ensure the butter is fully incorporated into the crumbs to prevent a crumbling crust.
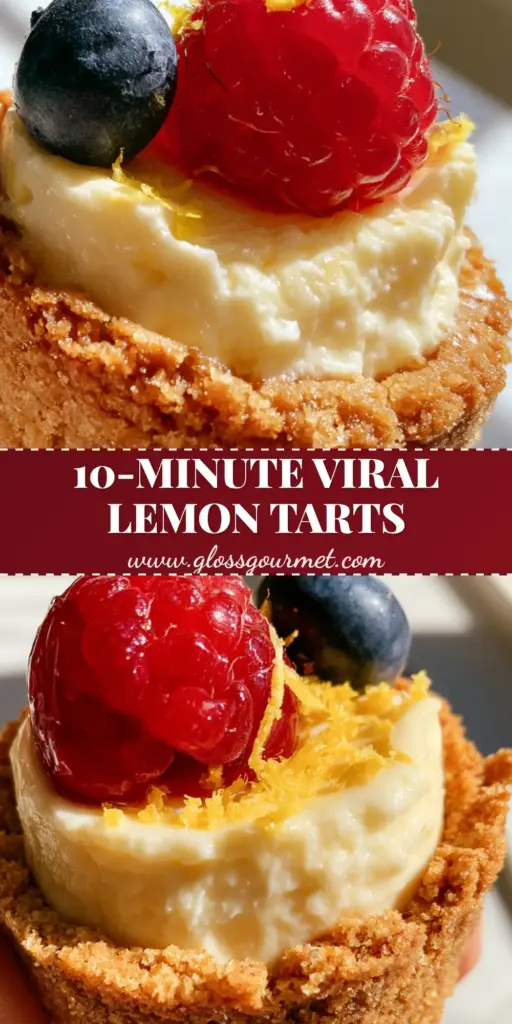
Closing & Call to Action
Mastering the no-bake lemon cheesecake tarts is a rite of passage for any home cook looking to impress with minimal effort. The combination of that thick, buttery crust and the silky lemon mousse is simply undeniable. If you loved this recipe, please leave a comment below and let us know how your zest ribbons turned out! Don’t forget to share your photos and tag us, or save this recipe to your dessert boards on Pinterest.