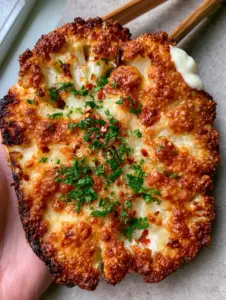
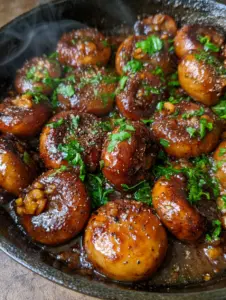
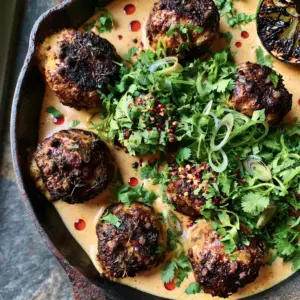
There is a specific, intoxicating aroma that fills a kitchen when Garlic Mushrooms hit a screaming hot cast iron surface. It is the scent of the Maillard reaction in full swing—that magical chemical transformation where humble fungi turn into deeply caramelized, savory gold. If you have ever struggled with rubbery, grey, or watery mushrooms, this recipe is designed to change your culinary life forever.
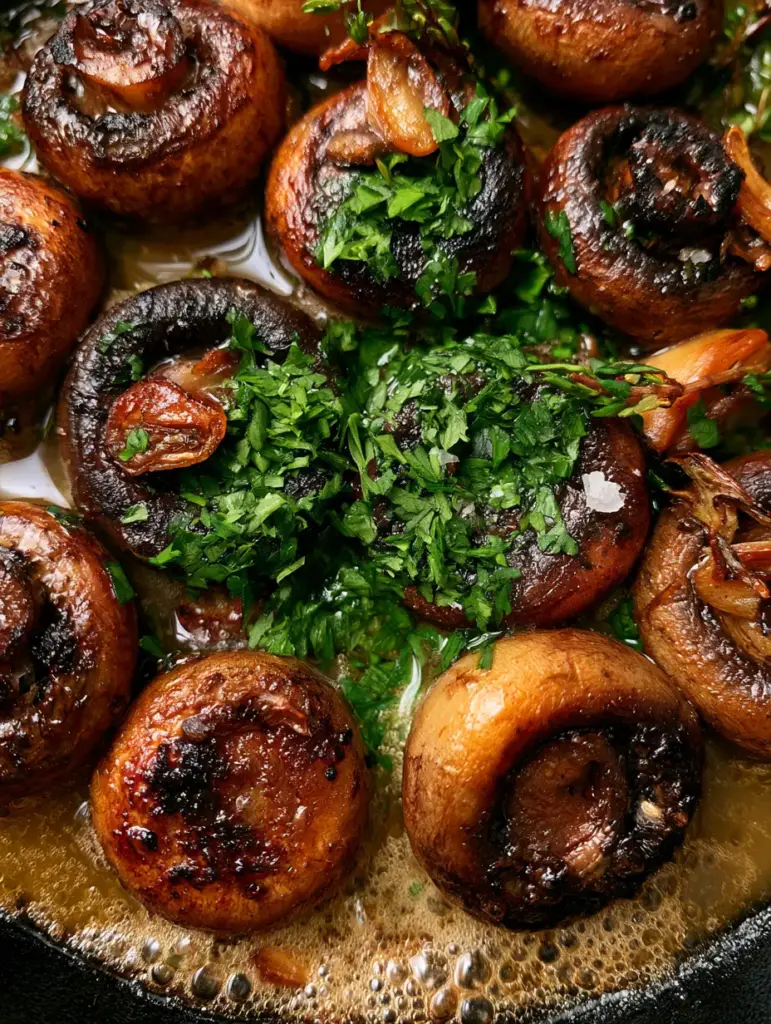
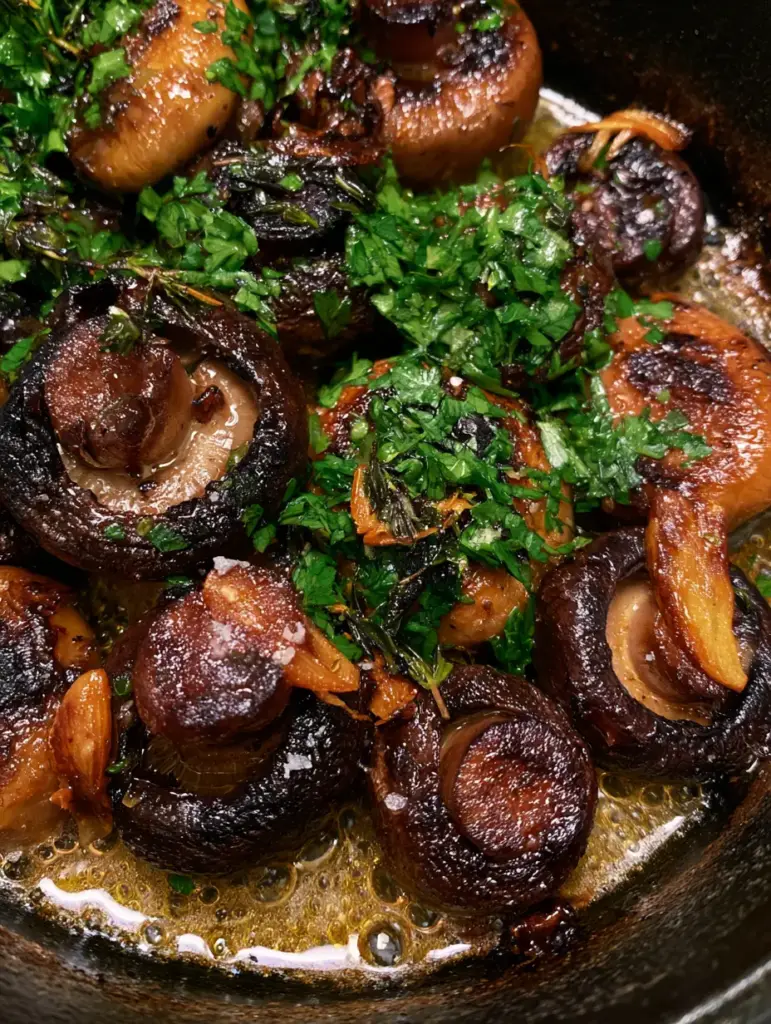
Imagine a rustic black skillet, its surface crowded with cremini mushrooms that have been seared until their edges are charred and crispy. They sit in a shimmering, translucent pool of melted golden garlic butter, speckled with tiny micro-bubbles that carry the essence of toasted aromatics. Every bite offers a contrast between the meaty, earthy mushroom and the sharp, bright crunch of flaky sea salt reflecting the light.
This isn’t just a side dish; it is a masterclass in texture and temperature control. We are bridging the gap between professional steakhouse quality and home-cooked comfort, ensuring every sliver of toasted garlic is softened to perfection and every sprig of thyme releases its oils directly into the fat. Whether you are serving these alongside a prime cut or piling them onto sourdough, these Garlic Mushrooms are the ultimate umami bomb.
What Makes These Seared Cremini Mushrooms Truly Exceptional
- Deeply Caramelized Exterior: By using high heat and a cast iron skillet, we achieve dark golden brown, crispy edges that provide a structural snap before the tender interior.
- Layered Garlic Textures: We don’t just mince garlic; we use toasted garlic slivers for crunch and melted garlic butter for a silky, emulsified finish.
- Double-Herb Infusion: The combination of woodiness from fresh thyme sprigs and the bright, grassy finish of chopped fresh parsley creates a balanced flavor profile.
- Sensory Precision: From the glistening shimmer of the butter to the micro-bubbles of the infusion, this recipe hits every visual and textural cue of a gourmet dish.
The Anatomy of Flavor: Essential Ingredients for Garlic Mushrooms
1 lb (450g) Cremini (Baby Bella) Mushrooms: These are preferred over white buttons for their lower moisture content and deeper, earthier flavor profile. When seared, they maintain their structural integrity, resulting in that meaty “bite” we crave.
4 tbsp (56g) Unsalted Butter: Butter is the vehicle for flavor here. Using unsalted allows us to control the final seasoning perfectly, ensuring the flaky sea salt stands out without being overwhelmed.
6 Large Garlic Cloves: We split these—four are thinly slivered to become crispy “chips,” and two are smashed to infuse the butter base with a mellow, sweet pungency.
2 tbsp (30ml) High-Smoke Point Oil: A neutral oil like avocado or grapeseed is essential for the initial sear. Butter would burn at the temperatures required to get those charred, crispy edges.
Fresh Thyme and Flat-Leaf Parsley: Thyme adds an earthy, floral note that stands up to the heat, while the finely chopped parsley is added at the end to provide a vibrant green visual contrast and a fresh finish.
Flaky Sea Salt and Cracked Black Pepper: Large salt flakes provide a reflective aesthetic and bursts of seasoning, while freshly cracked pepper adds a necessary heat to cut through the rich fat.
The Essential Kitchen Tools for a Professional Sear
To achieve the results seen in our visual blueprint, a rustic cast iron skillet is non-negotiable. Cast iron has a high heat capacity, meaning it won’t drop in temperature when the cold mushrooms hit the pan. This prevents the mushrooms from steaming in their own juices, which is the primary cause of sogginess.
You will also need a sharp chef’s knife for those paper-thin garlic slivers and a sturdy metal spatula. A metal spatula allows you to get under the mushrooms to release the “fond” (those browned bits stuck to the pan) without tearing the delicate skins of the fungi.
Mastering the Sear: Step-by-Step Instructions
Phase 1: Preparing the Fungi for High-Heat Success
Start by cleaning your cremini mushrooms. Never soak them in water; mushrooms act like sponges and will absorb liquid, preventing them from ever getting crispy. Instead, use a damp paper towel to wipe away any dirt. Halve the larger ones and leave the smaller ones whole to create a variety of textures in the skillet.
Slice four of your garlic cloves into thin, translucent slivers. These will be our “toasted garlic slivers” mentioned in the visual prompt. Finely chop the parsley and pull the leaves off the thyme sprigs, discarding the woody stems unless you plan to use them just for infusion.
Phase 2: The Initial Caramelization Process
Place your cast iron skillet over medium-high heat. Add the 2 tbsp (30ml) of oil and wait until it begins to shimmer and show wisps of smoke. This is the visual cue that the pan is ready. Add the mushrooms in a single layer. Do not crowd the pan. If the mushrooms are overlapping, they will steam rather than sear.
Leave them untouched for at least 3-4 minutes. You are looking for a deep, dark golden brown crust to form on the contact side. Once charred, toss them gently. At this stage, you will see the visible charred, crispy edges forming. This is where the Garlic Mushrooms develop their signature umami depth.
Phase 3: The Garlic Butter Shimmer and Herb Infusion
Reduce the heat to medium. Push the mushrooms to the edges of the skillet, creating a clearing in the center. Drop in the 4 tbsp (56g) of butter. As it melts, you will see tiny micro-bubbles forming—this is the water in the butter evaporating. Immediately add your garlic slivers and smashed garlic.
Toss the mushrooms back into the center, coating them in the shimmering pool of melted golden garlic butter. Add the fresh thyme leaves now. The heat will cause the thyme to release its volatile oils, fragrance-bombing your kitchen. Sauté for another 2 minutes until the garlic slivers are softened and golden-brown.
Phase 4: The Final Flourish and Garnish
Remove the skillet from the heat. The residual heat of the cast iron will continue to cook the ingredients. Scatter a heavy garnish of vibrant green flat-leaf parsley over the top. This provides the “macro overhead” visual impact of fresh greens against dark, caramelized mushrooms.
Finally, sprinkle a generous pinch of flaky sea salt and cracked black pepper. The salt should be visible, reflecting the light from your kitchen window or stovetop. Your Garlic Mushrooms are now ready to be served directly from the rustic skillet for that authentic, handheld smartphone photo aesthetic.
Expert Tips for Perfect Garlic Mushrooms Every Time
- Dry is Best: If your mushrooms are even slightly damp, they will bleed water into the pan. Use a kitchen towel to pat them bone-dry before they touch the oil.
- Salt at the End: Never salt mushrooms at the beginning of the cooking process. Salt draws out moisture; if you salt too early, your mushrooms will stew in a pool of liquid rather than browning.
- Temperature Control: If the butter starts to turn dark brown or smell nutty too quickly (becoming brown butter), pull the pan off the heat. You want golden butter with micro-bubbles, not burnt milk solids.
- The “Crowding” Rule: If you are making a double batch, use two skillets or cook in two stages. A crowded pan is the enemy of the caramelized edge.
Storage and Reheating Advice
While Garlic Mushrooms are best served immediately to enjoy the crispy edges, they can be stored in an airtight container in the refrigerator for up to 3 days. To reheat, avoid the microwave, which will make them rubbery. Instead, toss them back into a hot skillet with a tiny knob of butter for 2 minutes to revive the textures.
Freezing is not recommended for this specific preparation, as the cellular structure of the mushroom collapses upon thawing, losing that “deeply caramelized” integrity we worked so hard to achieve.
What to Serve with Your Skillet Mushrooms
These mushrooms are incredibly versatile. For a steakhouse experience, pair them with parmesan-crusted salmon or a juicy ribeye. The garlic butter sauce also acts as a fantastic flavor base when served over bowls of warm sticky rice.
If you enjoy these aromatics, you might also love our Texas-style cowboy mushrooms for a spicy twist, or try these as a topping for a gourmet chicken club sandwich. For a lighter vegetarian meal, they are the perfect companion to a crisp vermicelli noodle salad.
Commonly Asked Questions About Pan-Searing Mushrooms
Yes, you can use white button mushrooms, but cremini (baby bellas) are preferred because they have a lower moisture content and a more robust, earthy flavor that stands up well to the garlic and thyme.
Add the garlic slivers only after the mushrooms have already seared and the heat has been reduced to medium. The butter helps buffer the heat, allowing the garlic to toast to a golden brown rather than burning.
No, you should never soak mushrooms. They are porous and will absorb water, making it impossible to get the crispy, charred edges shown in the photos. Instead, wipe them clean with a damp paper towel.
Always salt your mushrooms at the very end of the cooking process. Salt draws out moisture; adding it early will cause the mushrooms to release liquid and boil rather than sear.
Sogginess usually occurs because the pan was crowded or the heat was too low. If the mushrooms are overlapping, they steam in their own moisture. Cook in batches and use a high-heat cast iron skillet for the best results.
The Ultimate Recipe for Caramelized Garlic Mushrooms
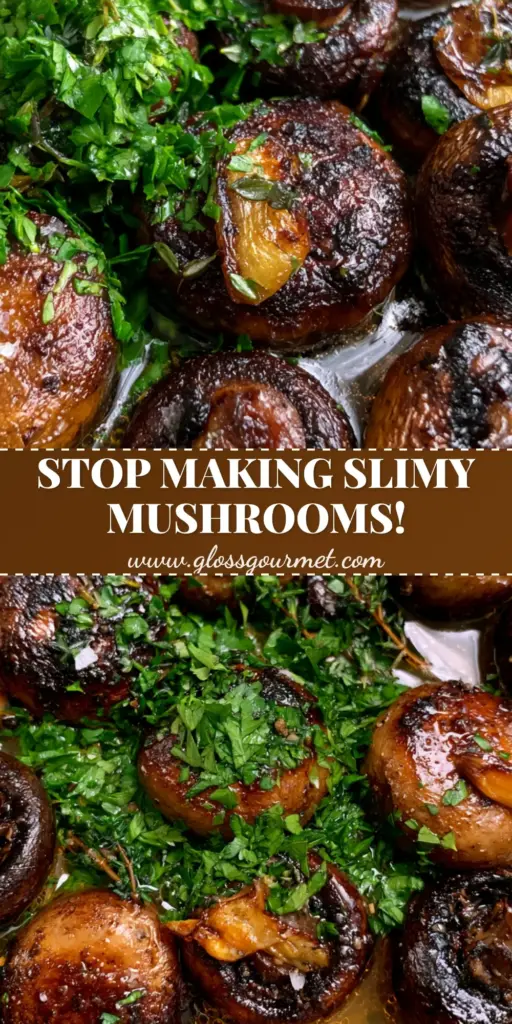
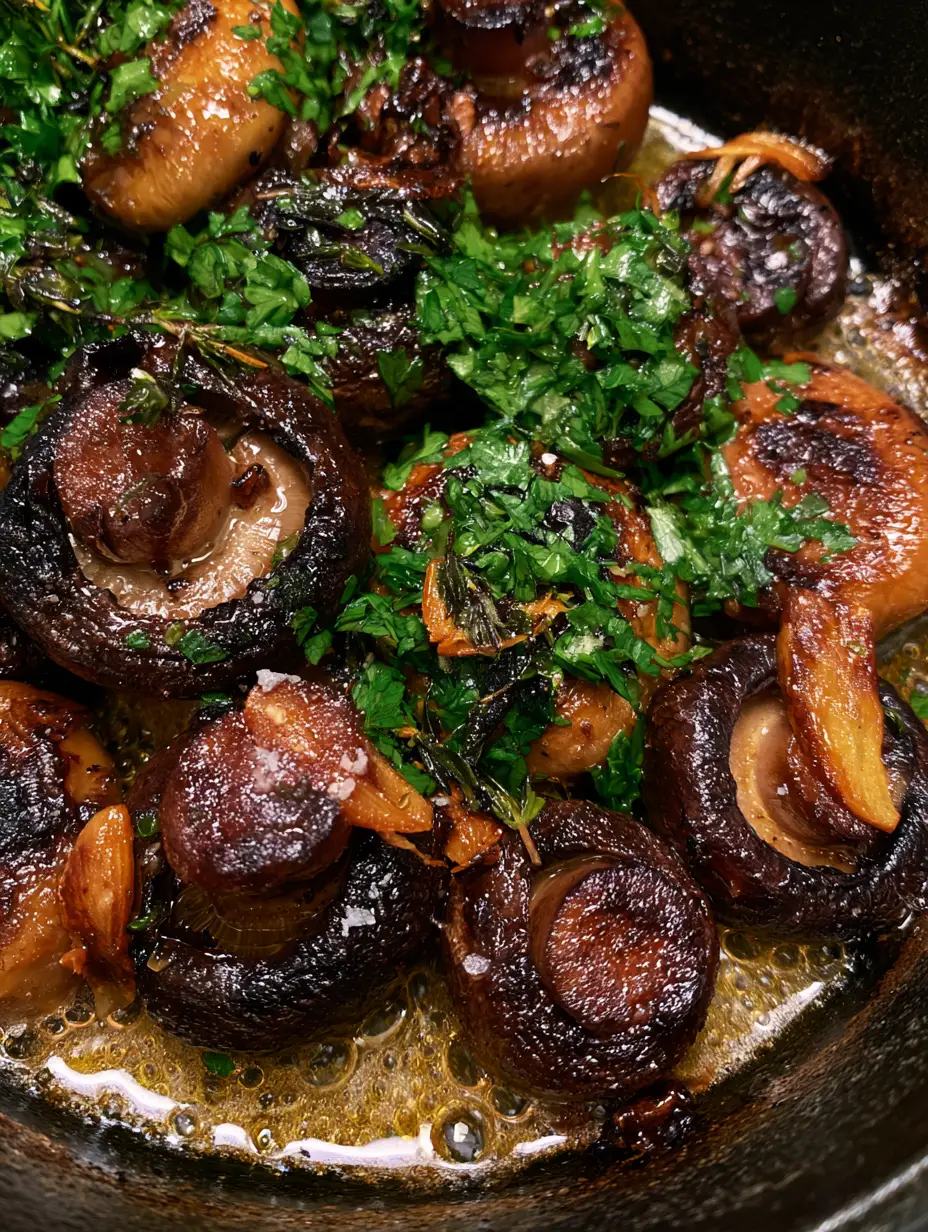
Garlic Mushrooms with Toasted Garlic and Herb Butter
Ingredients
Equipment
Method
- Wipe the cremini mushrooms with a damp paper towel to remove debris. Halve large mushrooms and leave small ones whole. Sliver 4 garlic cloves and smash the remaining 2.
- Heat oil in a cast iron skillet over medium-high heat until shimmering. Add mushrooms in a single layer and sear undisturbed for 4 minutes until dark golden brown edges appear.
- Flip the mushrooms and cook for another 3 minutes until charred and crispy on the edges.
- Reduce heat to medium. Add butter, garlic slivers, smashed garlic, and thyme. Sauté for 2 minutes as the butter bubbles and the garlic turns golden brown.
- Remove from heat. Toss in chopped parsley, flaky sea salt, and cracked black pepper. Serve immediately from the skillet.
Notes
Ensure the pan is not crowded; cook in batches if necessary to maintain high heat.
Closing Thoughts on the Ultimate Savory Side
Creating the perfect Garlic Mushrooms is a sensory journey—from the first hiss of the skillet to the final sparkle of sea salt. By focusing on high heat, quality fats, and fresh herbs, you transform a simple ingredient into a centerpiece-worthy dish. The contrast of the toasted garlic slivers against the tender, seared cremini is a texture profile you won’t soon forget.
If you loved this recipe, please leave a comment below and let us know how yours turned out! Don’t forget to follow us on Pinterest for more visually stunning recipe inspiration and share your skillet photos with the community.